Our DIY Kitchen Remodel
We’ve lived in our house for almost eight years, and over that time we’ve put our own touch on just about every room in the house. The house is approaching 100 years old now, so it’s full of interesting character that we really love. We’ve painted, repainted, repaired and reconstructed, landscaped, and decorated, but we never touched the kitchen. Now, this is partially due to the fact that the kitchen was the nicest room in the house when we moved in, and partially due to a lack of time and money, but those are no excuses for not even painting! We had grown increasing tired of the country styling, and we knew that it was time for a radical change.
The problem with radical changes is that they usually require a radical budget. We knew we’d have to get creative, which happens to be something we’re good at, and it’s really what makes projects like this fun!
We have a whopping two old pictures of our kitchen from before (even though we’re photographers, when we work on projects, we tend to put our nose to the grindstone and get after it, so we didn’t take “before” photos). These photos are actually from when we were looking at the house, so all of the stuff is from the previous owners.
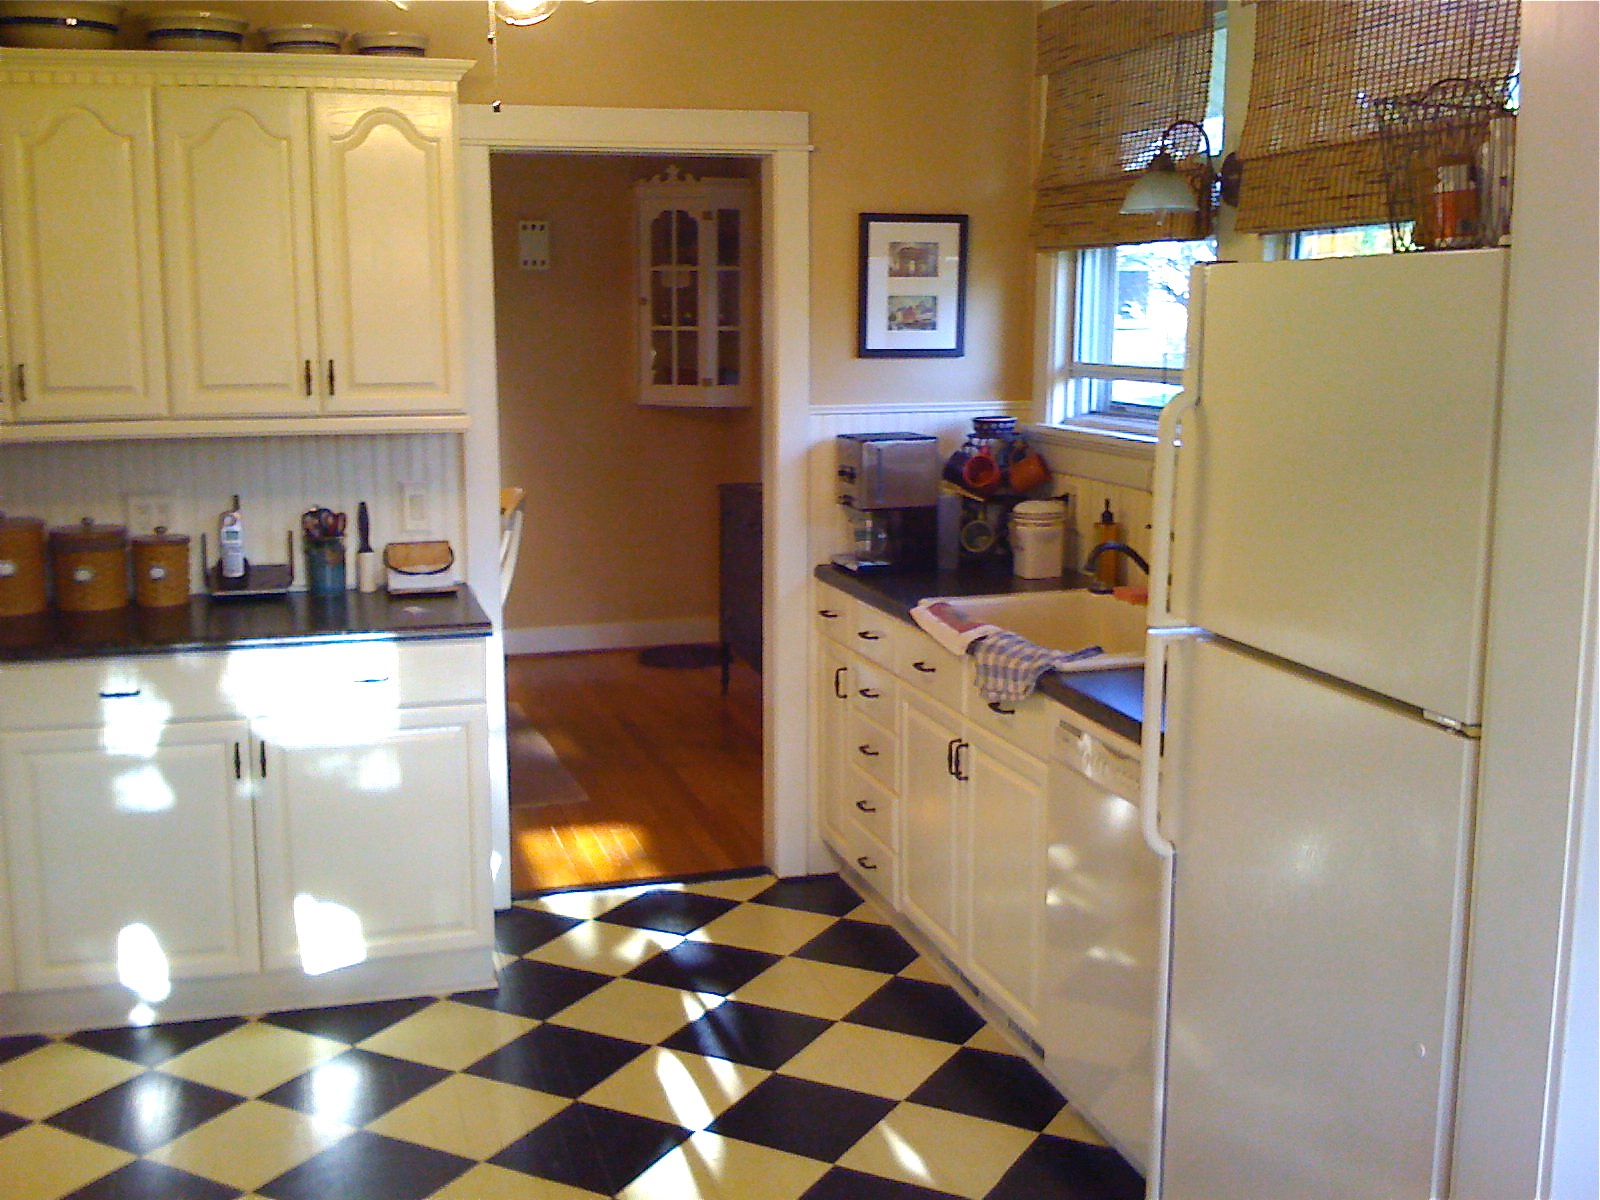
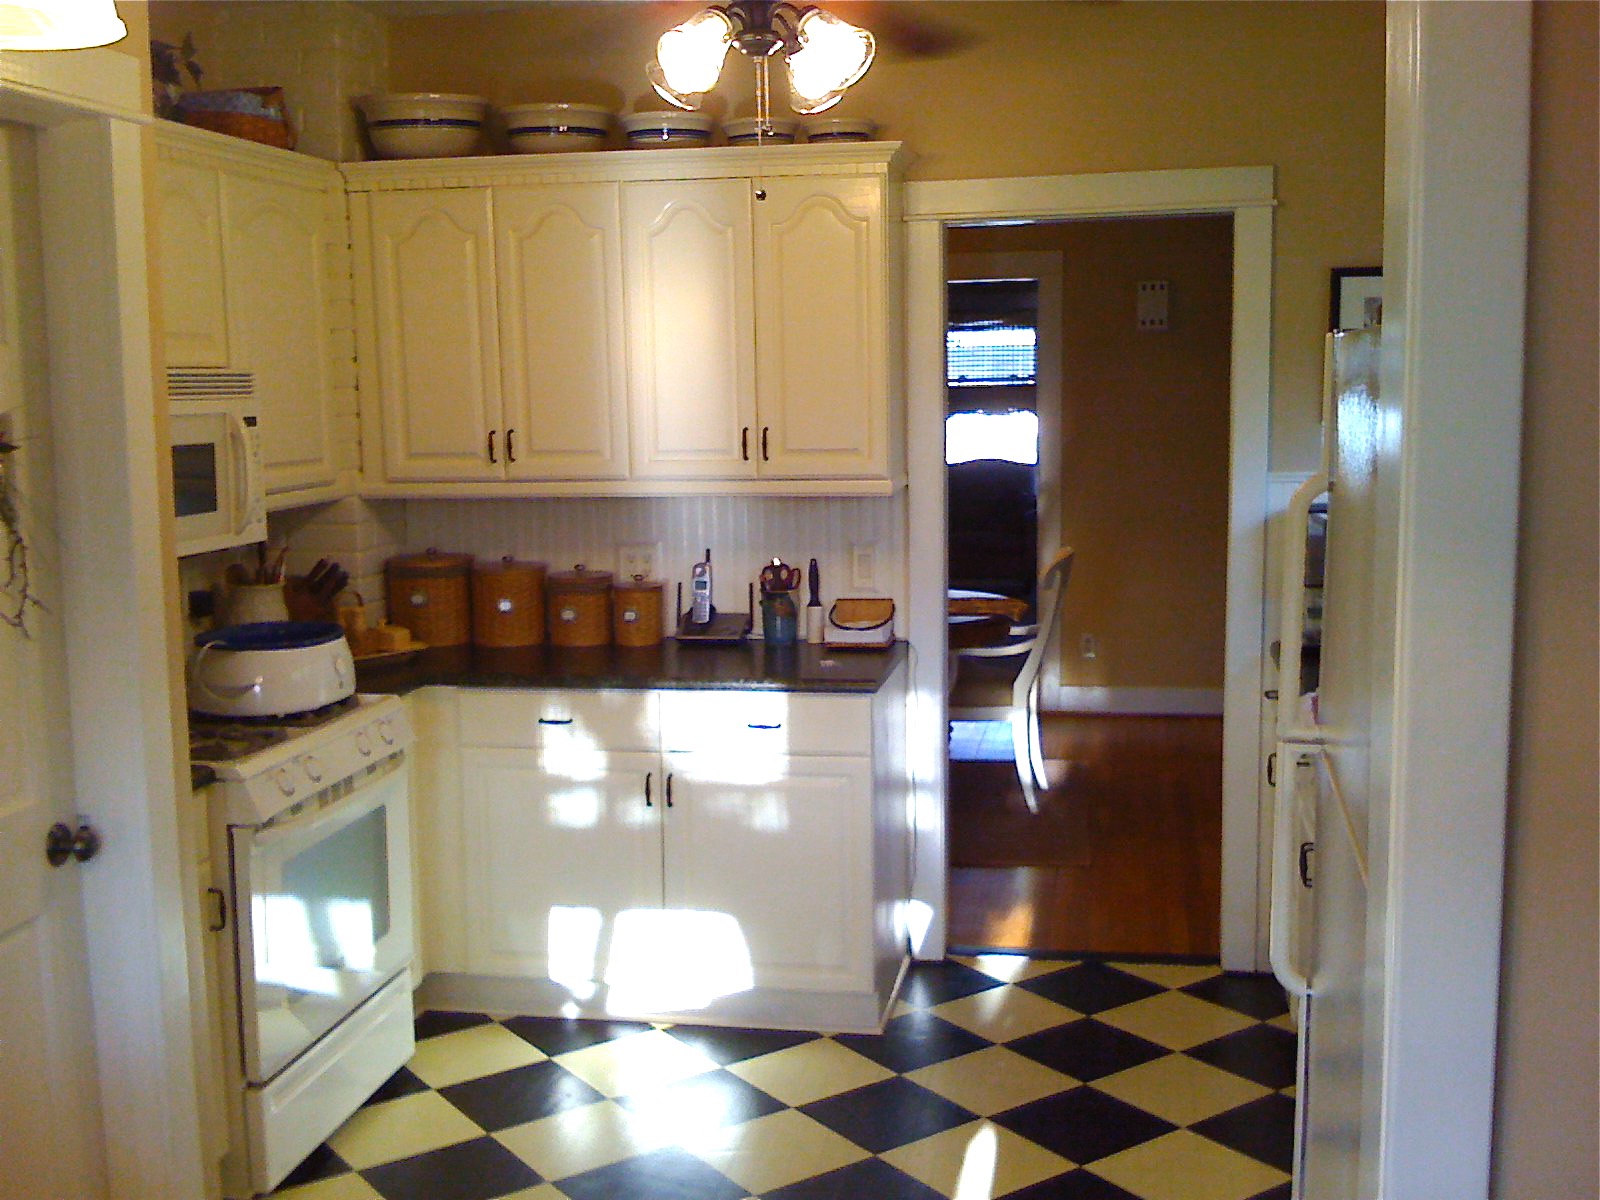
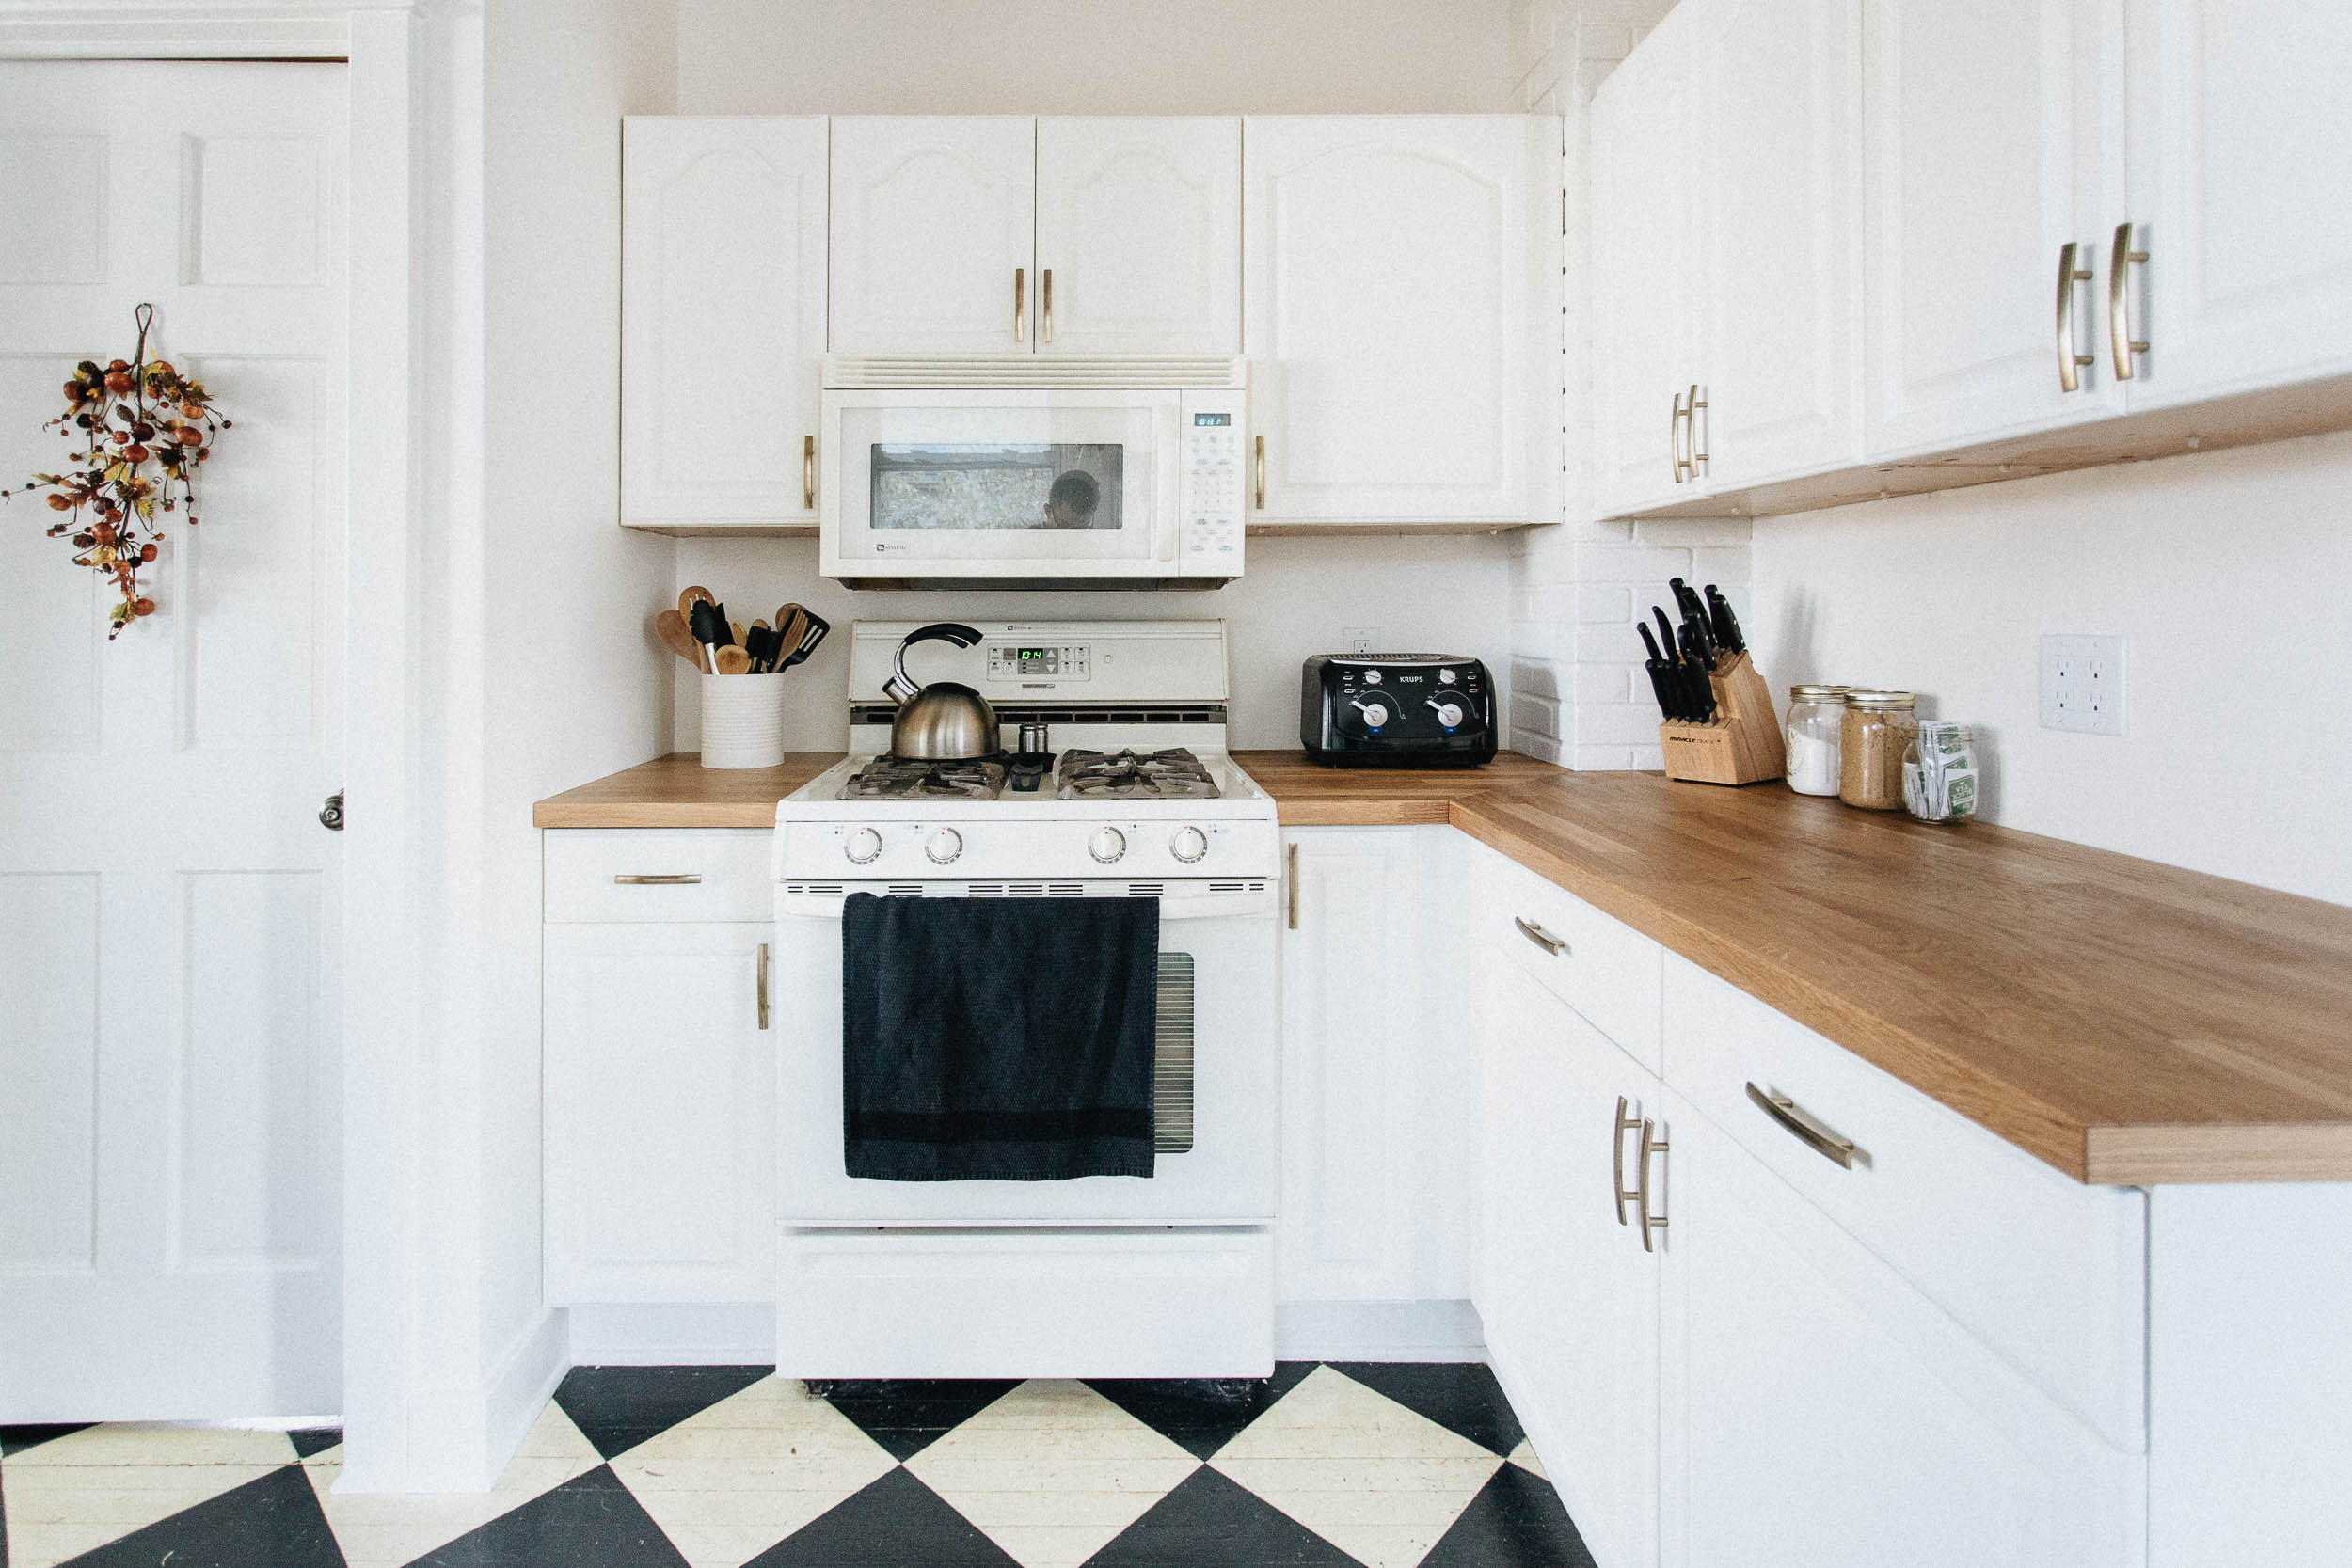
As you can see, for an old house, it’s a fine kitchen, but despite the fact that it was mostly cream colored, it felt dark, cramped, and cluttered. We kept it a little more streamlined than this, but it was always a small kitchen.
We have a breakfast nook attached to the kitchen (where we were standing when we took the above photos), and it’s gone largely unused during our time in the house. We knew straight away that we could increase our space by simply moving the refrigerator to the other side of the wall separating the kitchen from the nook.
Of course, this meant we were left with a hole where the fridge used to be. It dawned on us that there was a cabinet in the basement that looked like it might match. Miraculously, the previous owner removed a cabinet to install the dishwasher, and kept it! It would fill this space nicely, and meant we wouldn’t need to buy a new one and hope we could find something similar enough to blend in.
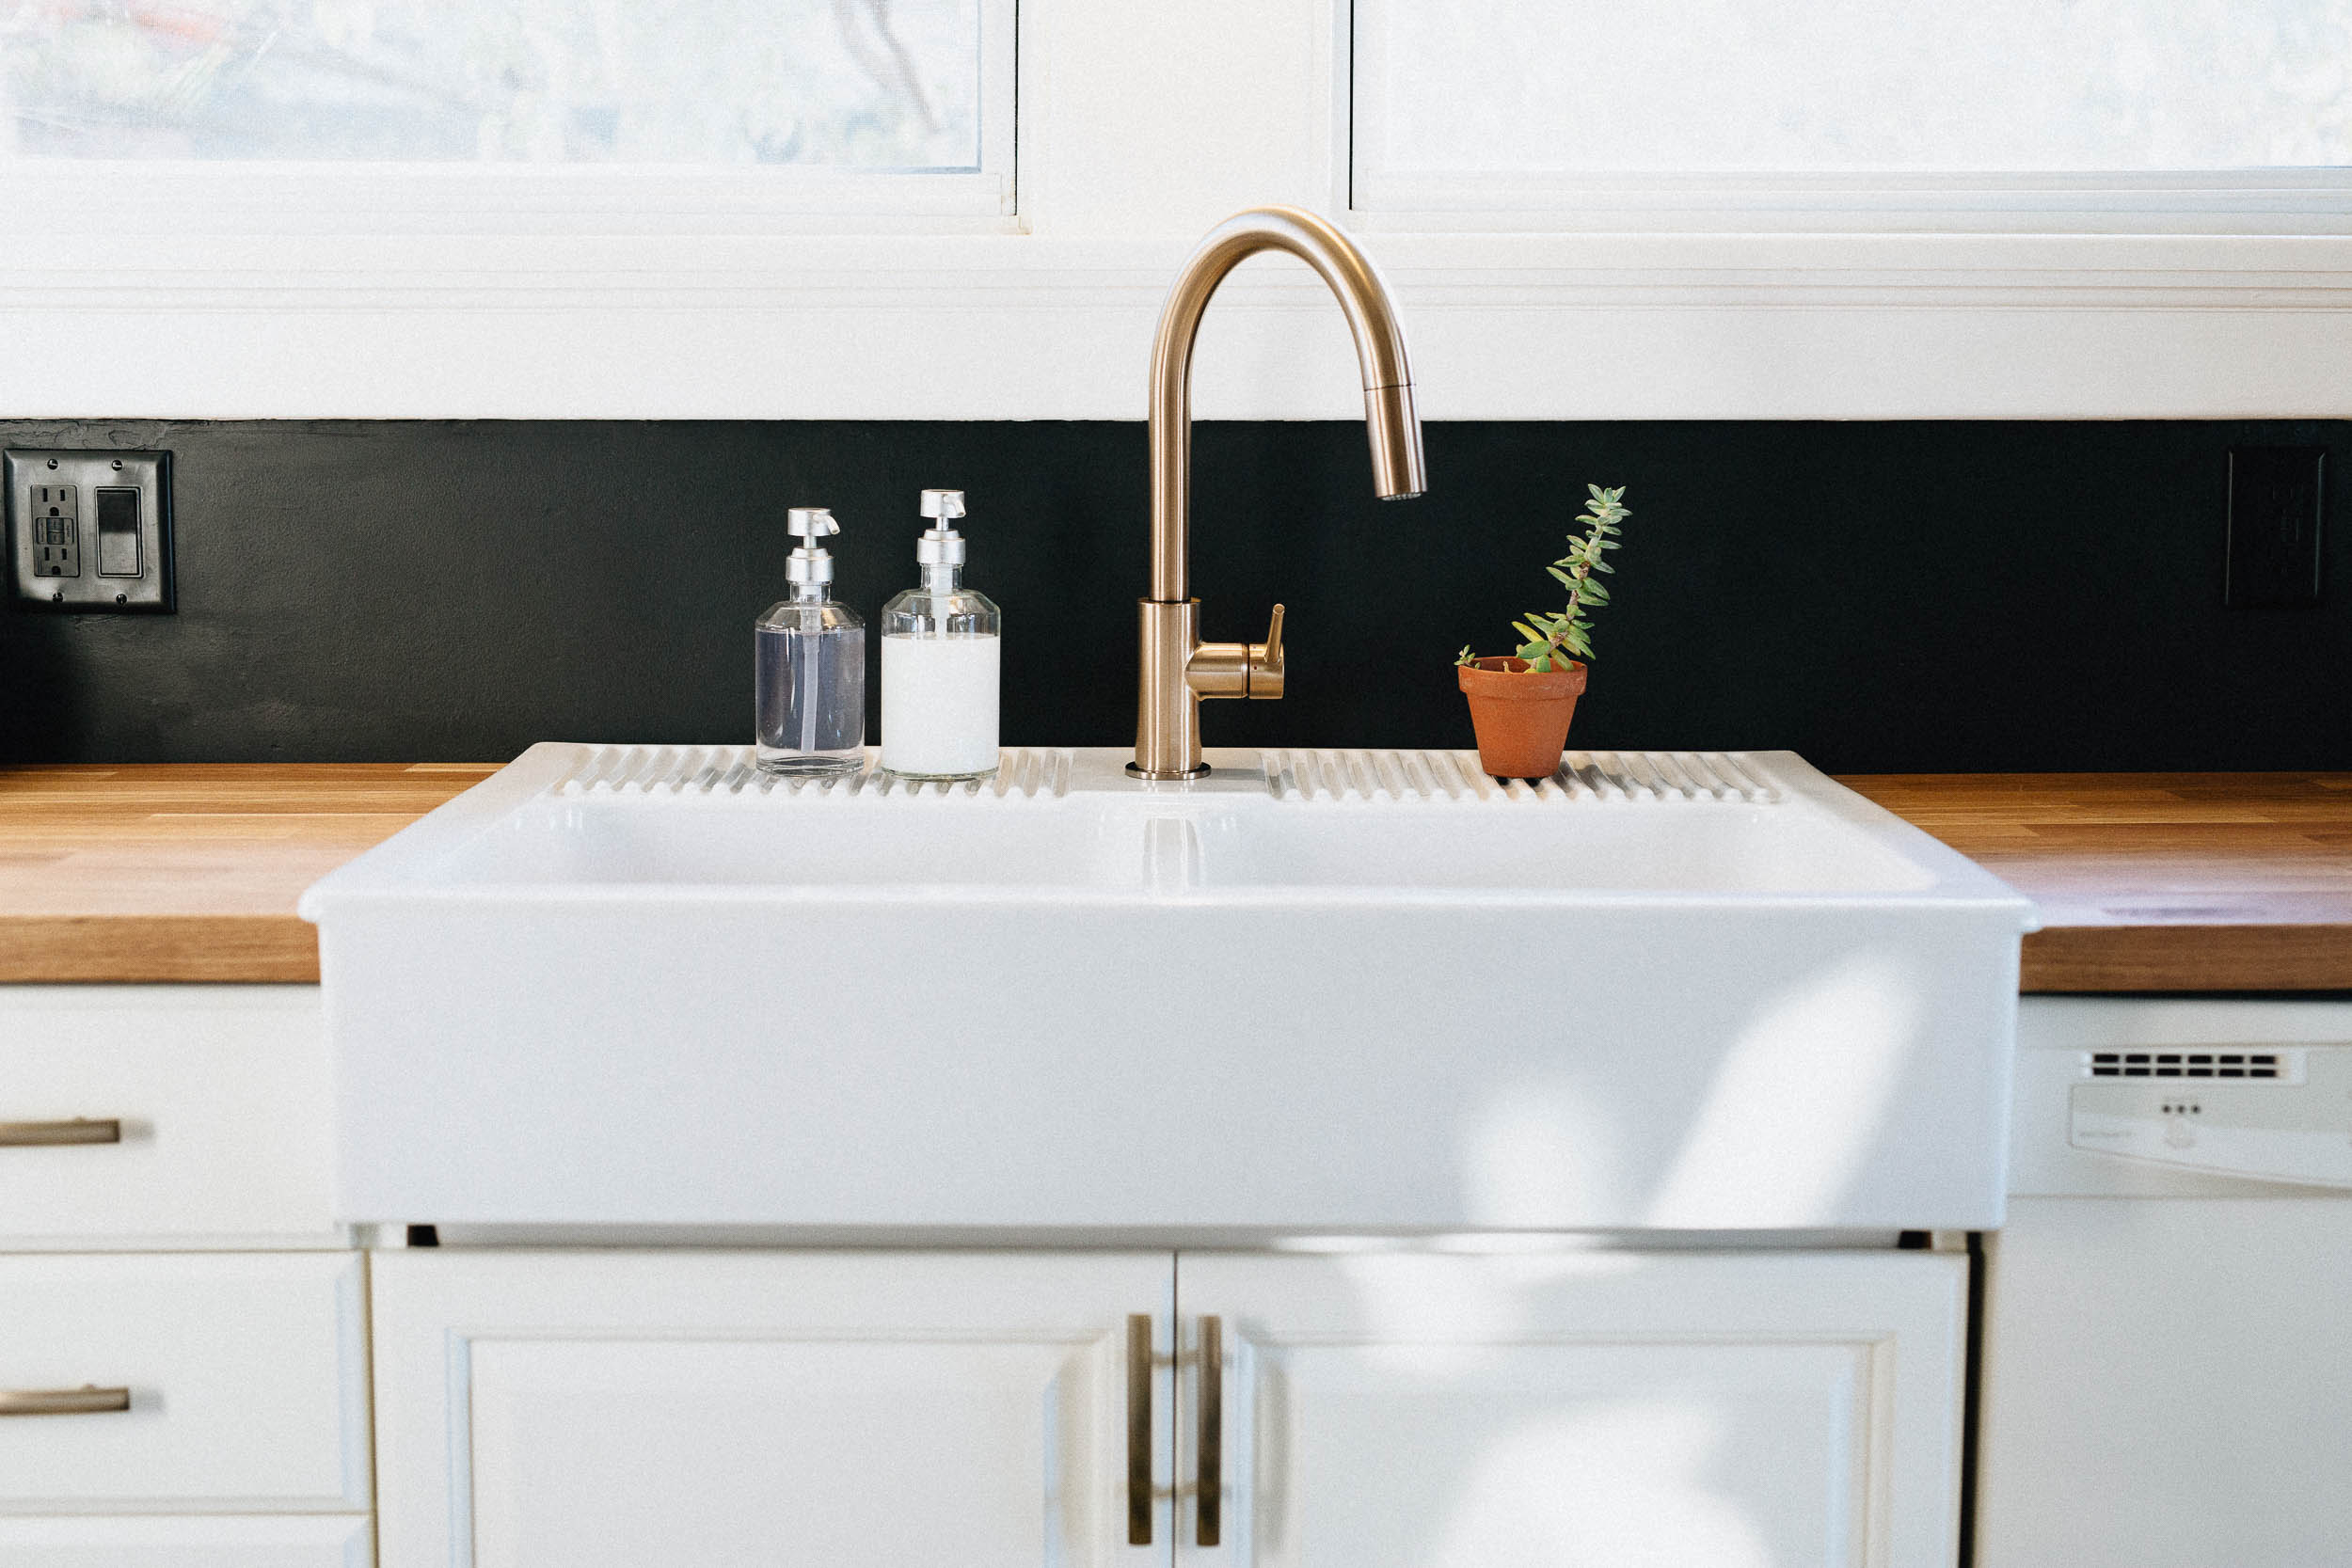
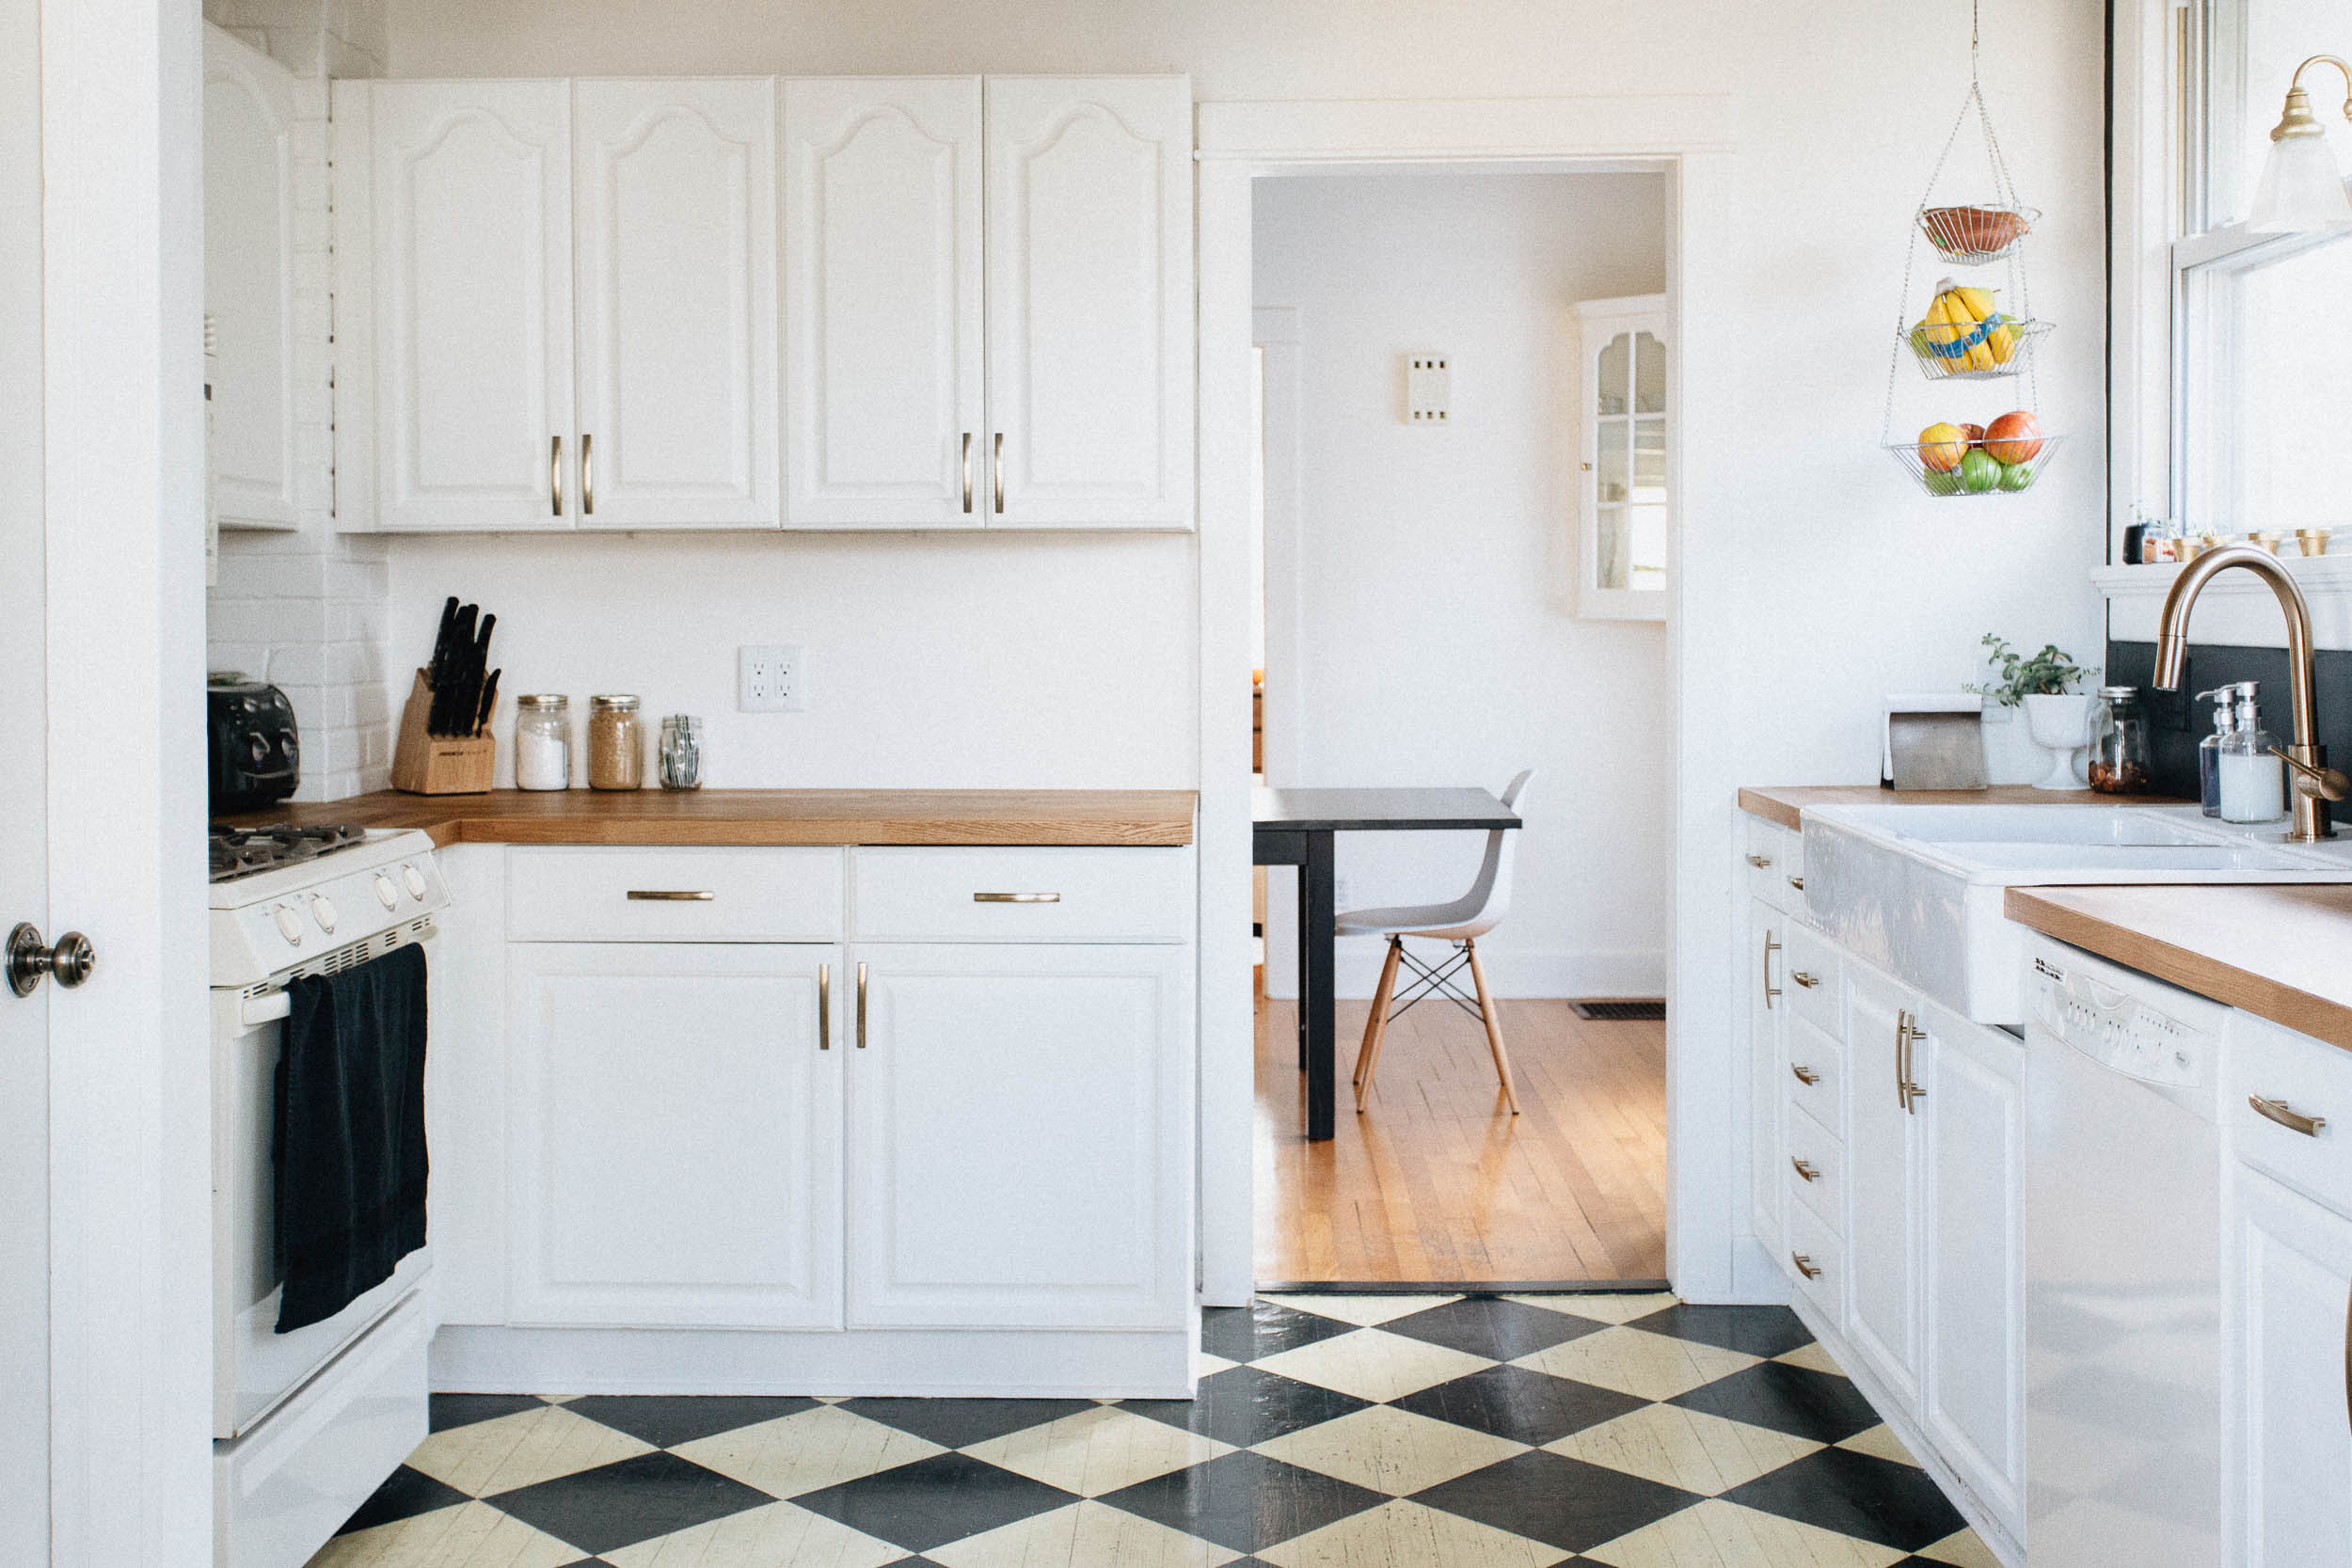
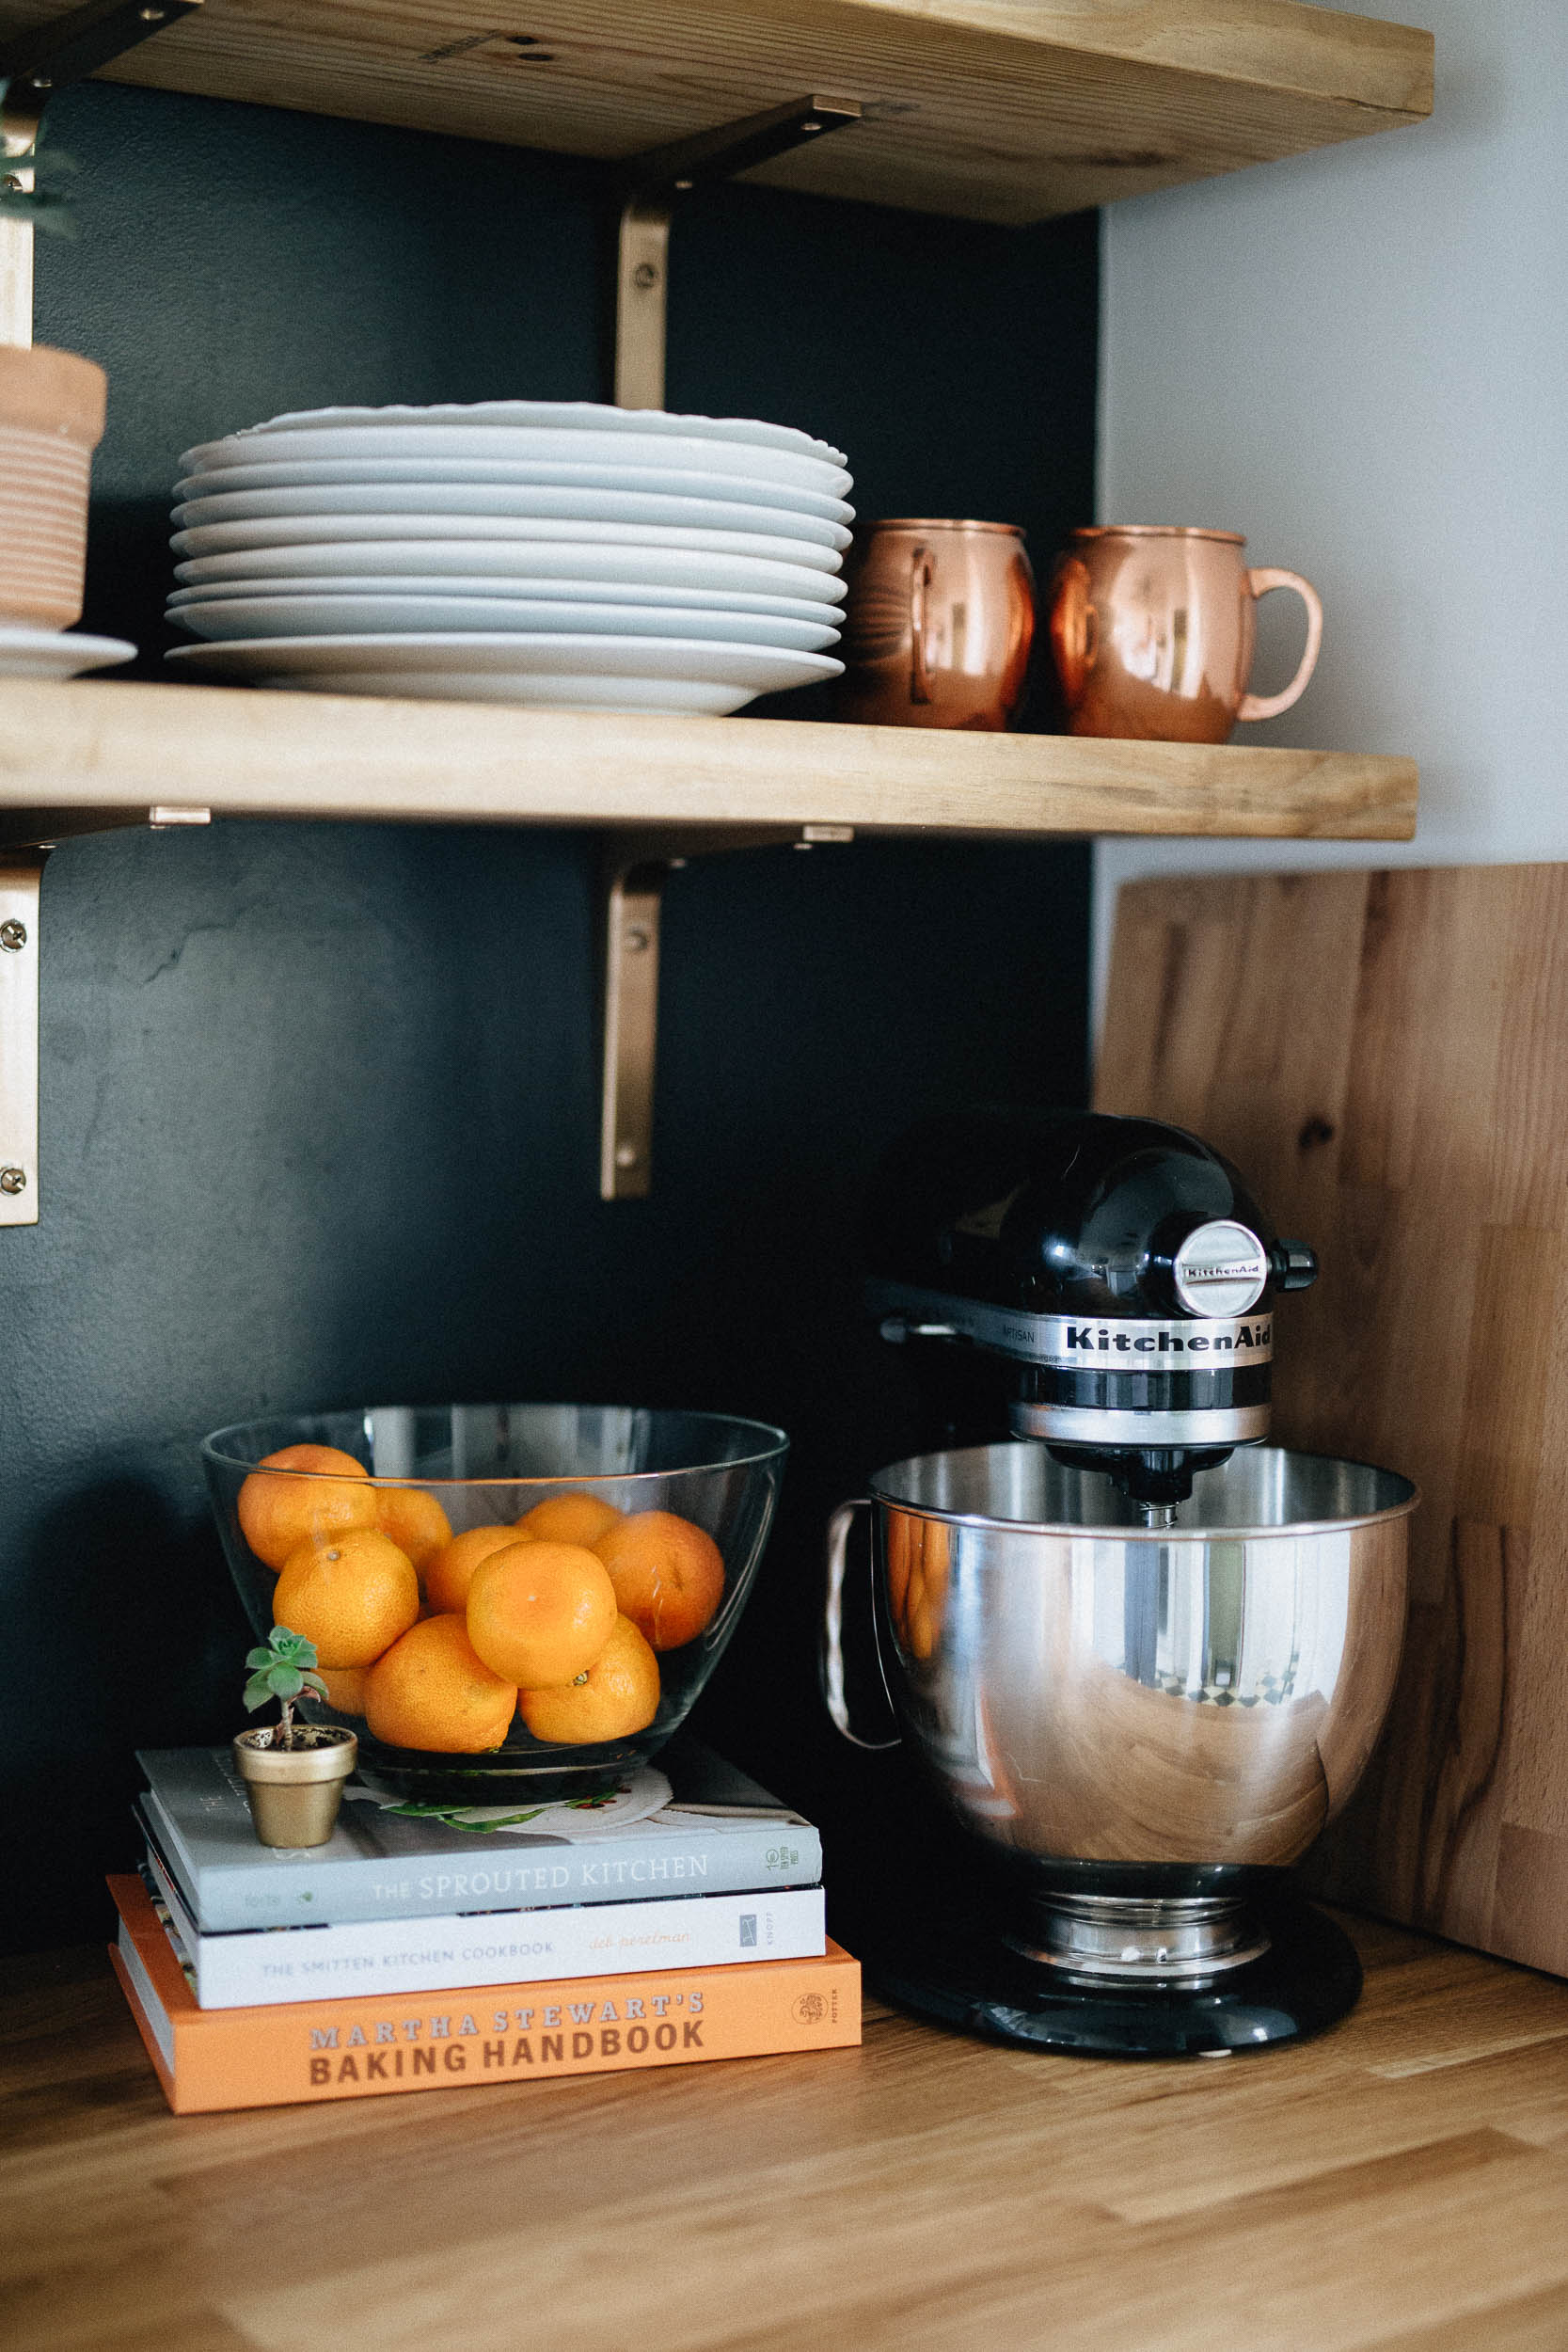
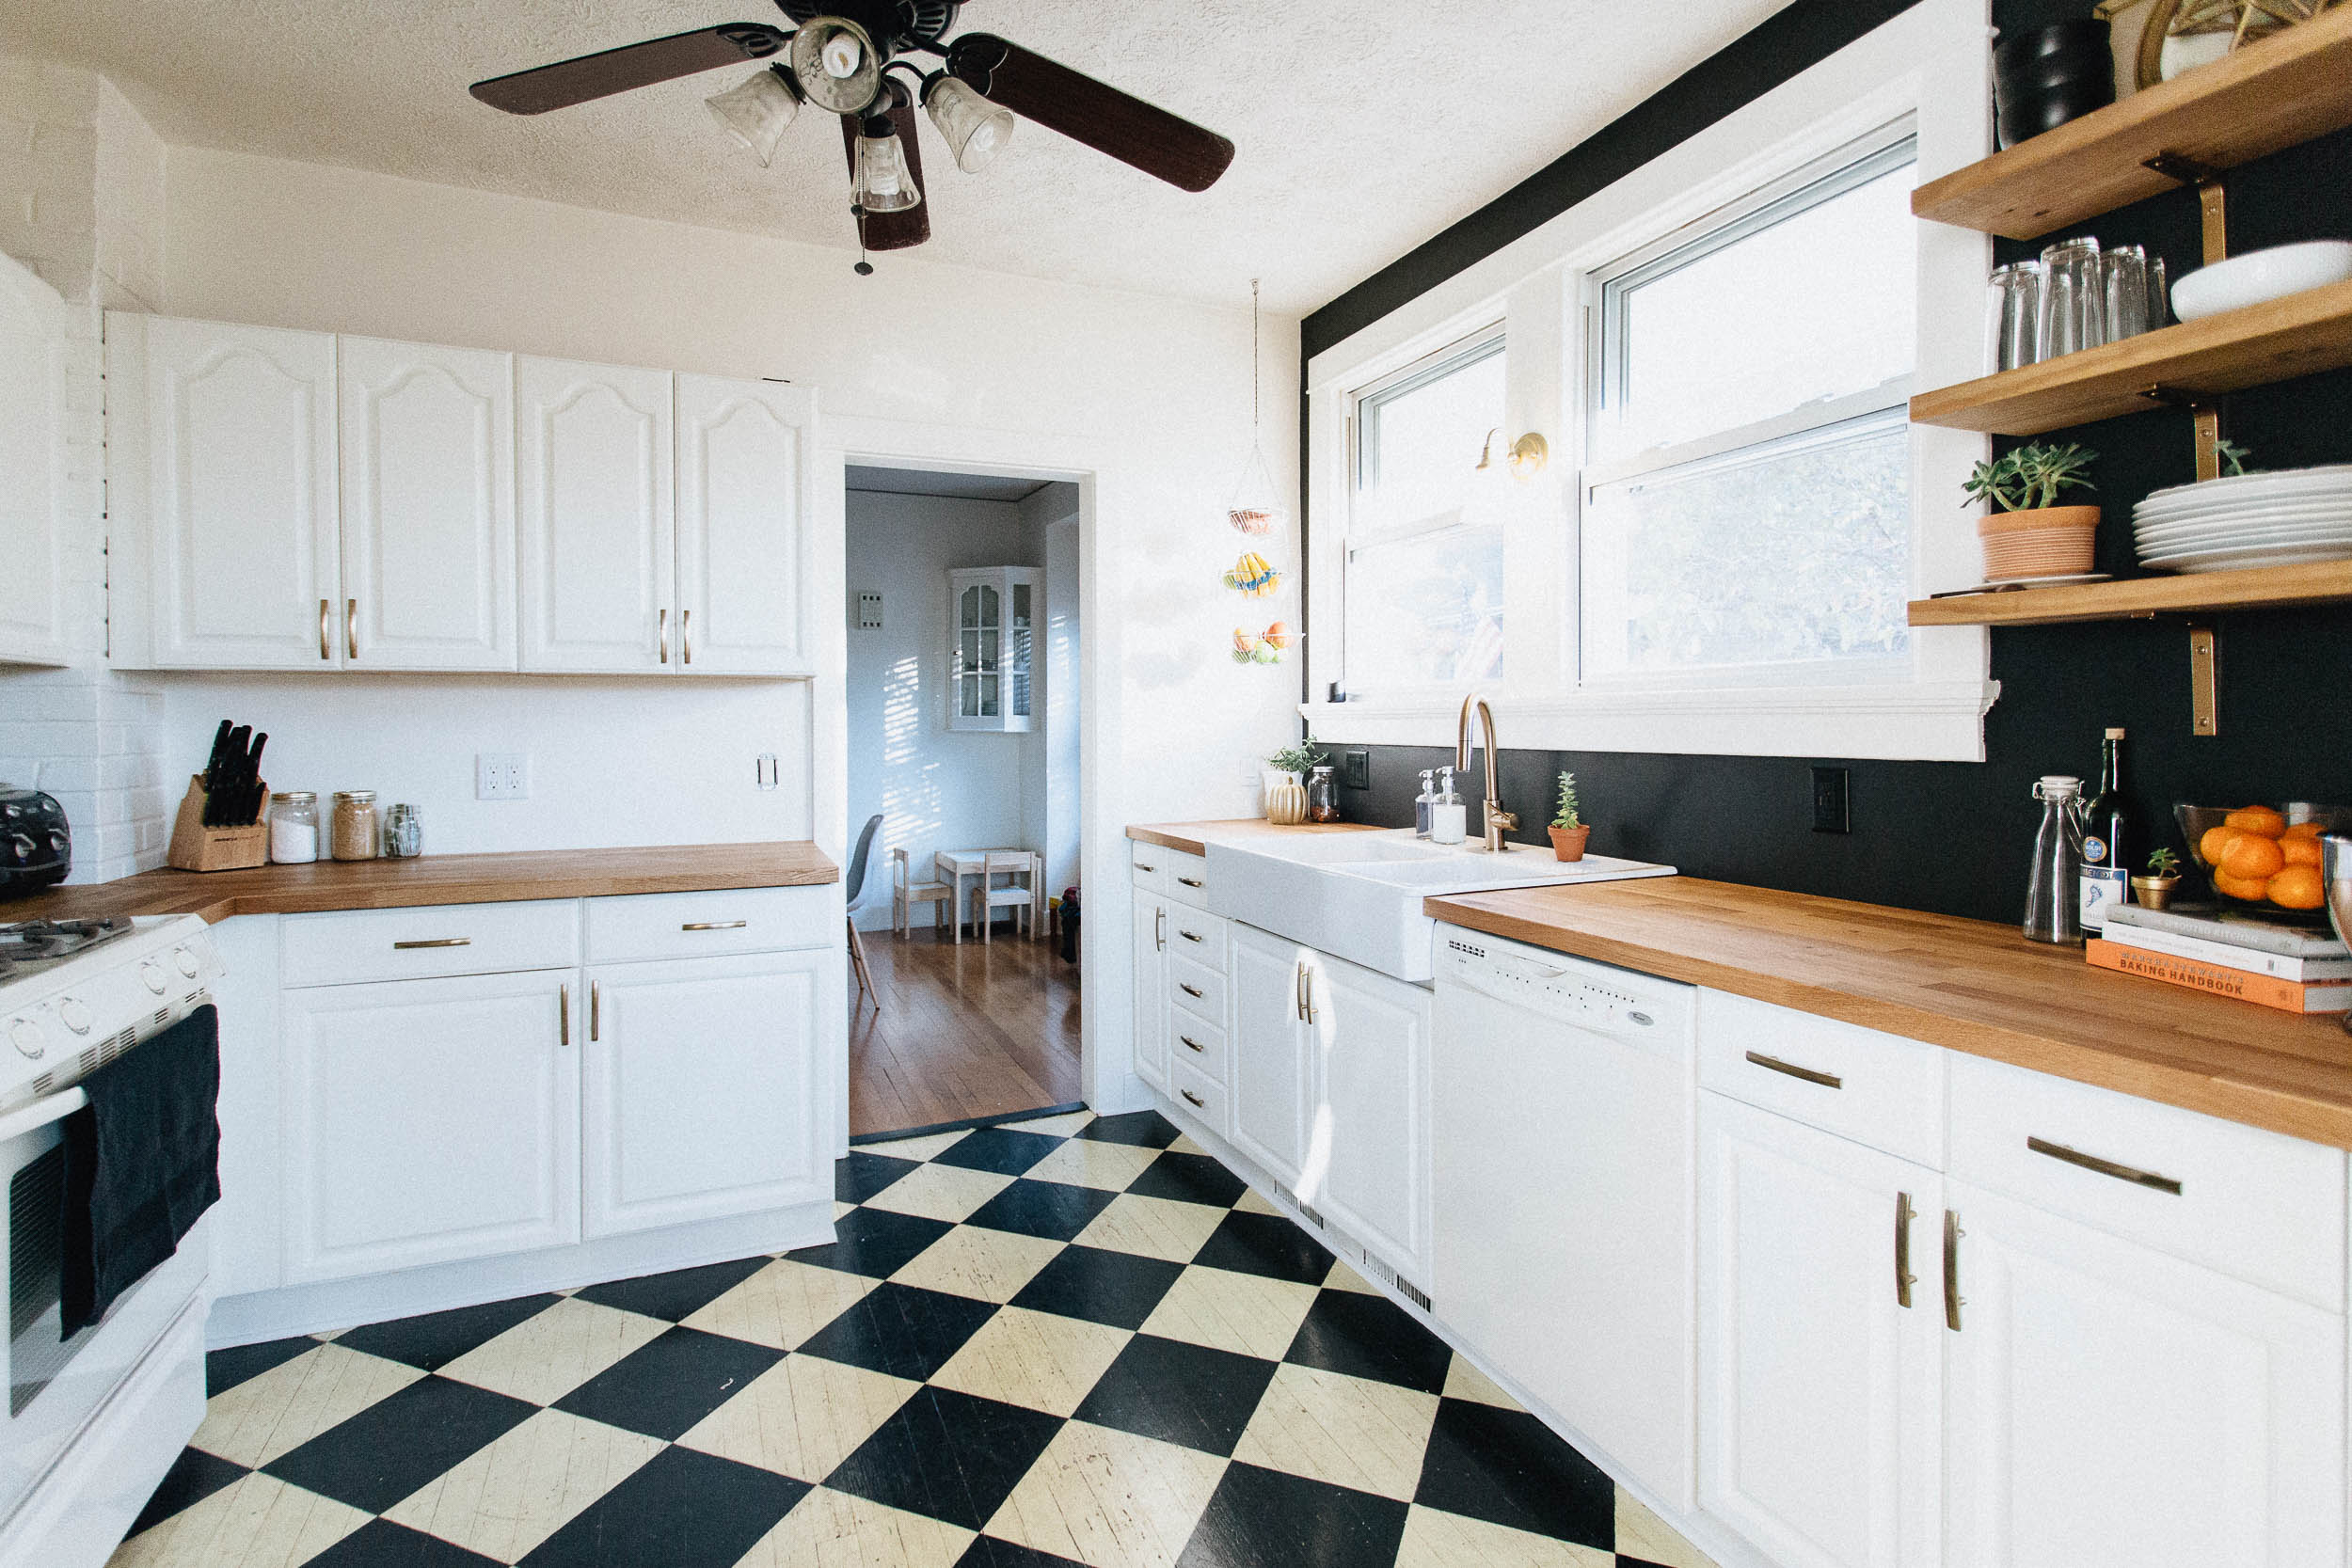
We now had a floating cabinet with no countertop, which led us to our next step, which was choosing new counters and a new sink. We’d known for quite some time that we wanted a farmhouse style sink, and so we started shopping. IKEA’s Domsjö sink was big, beautiful, and within budget, and on top of that, it sits on top of the countertop, and doesn’t require a special shaped hole, which is perfect for a DIYer. We chose butcher block counters, also from IKEA, and we were able to cut the necessary pieces using just three pre-made units and only straight cuts!
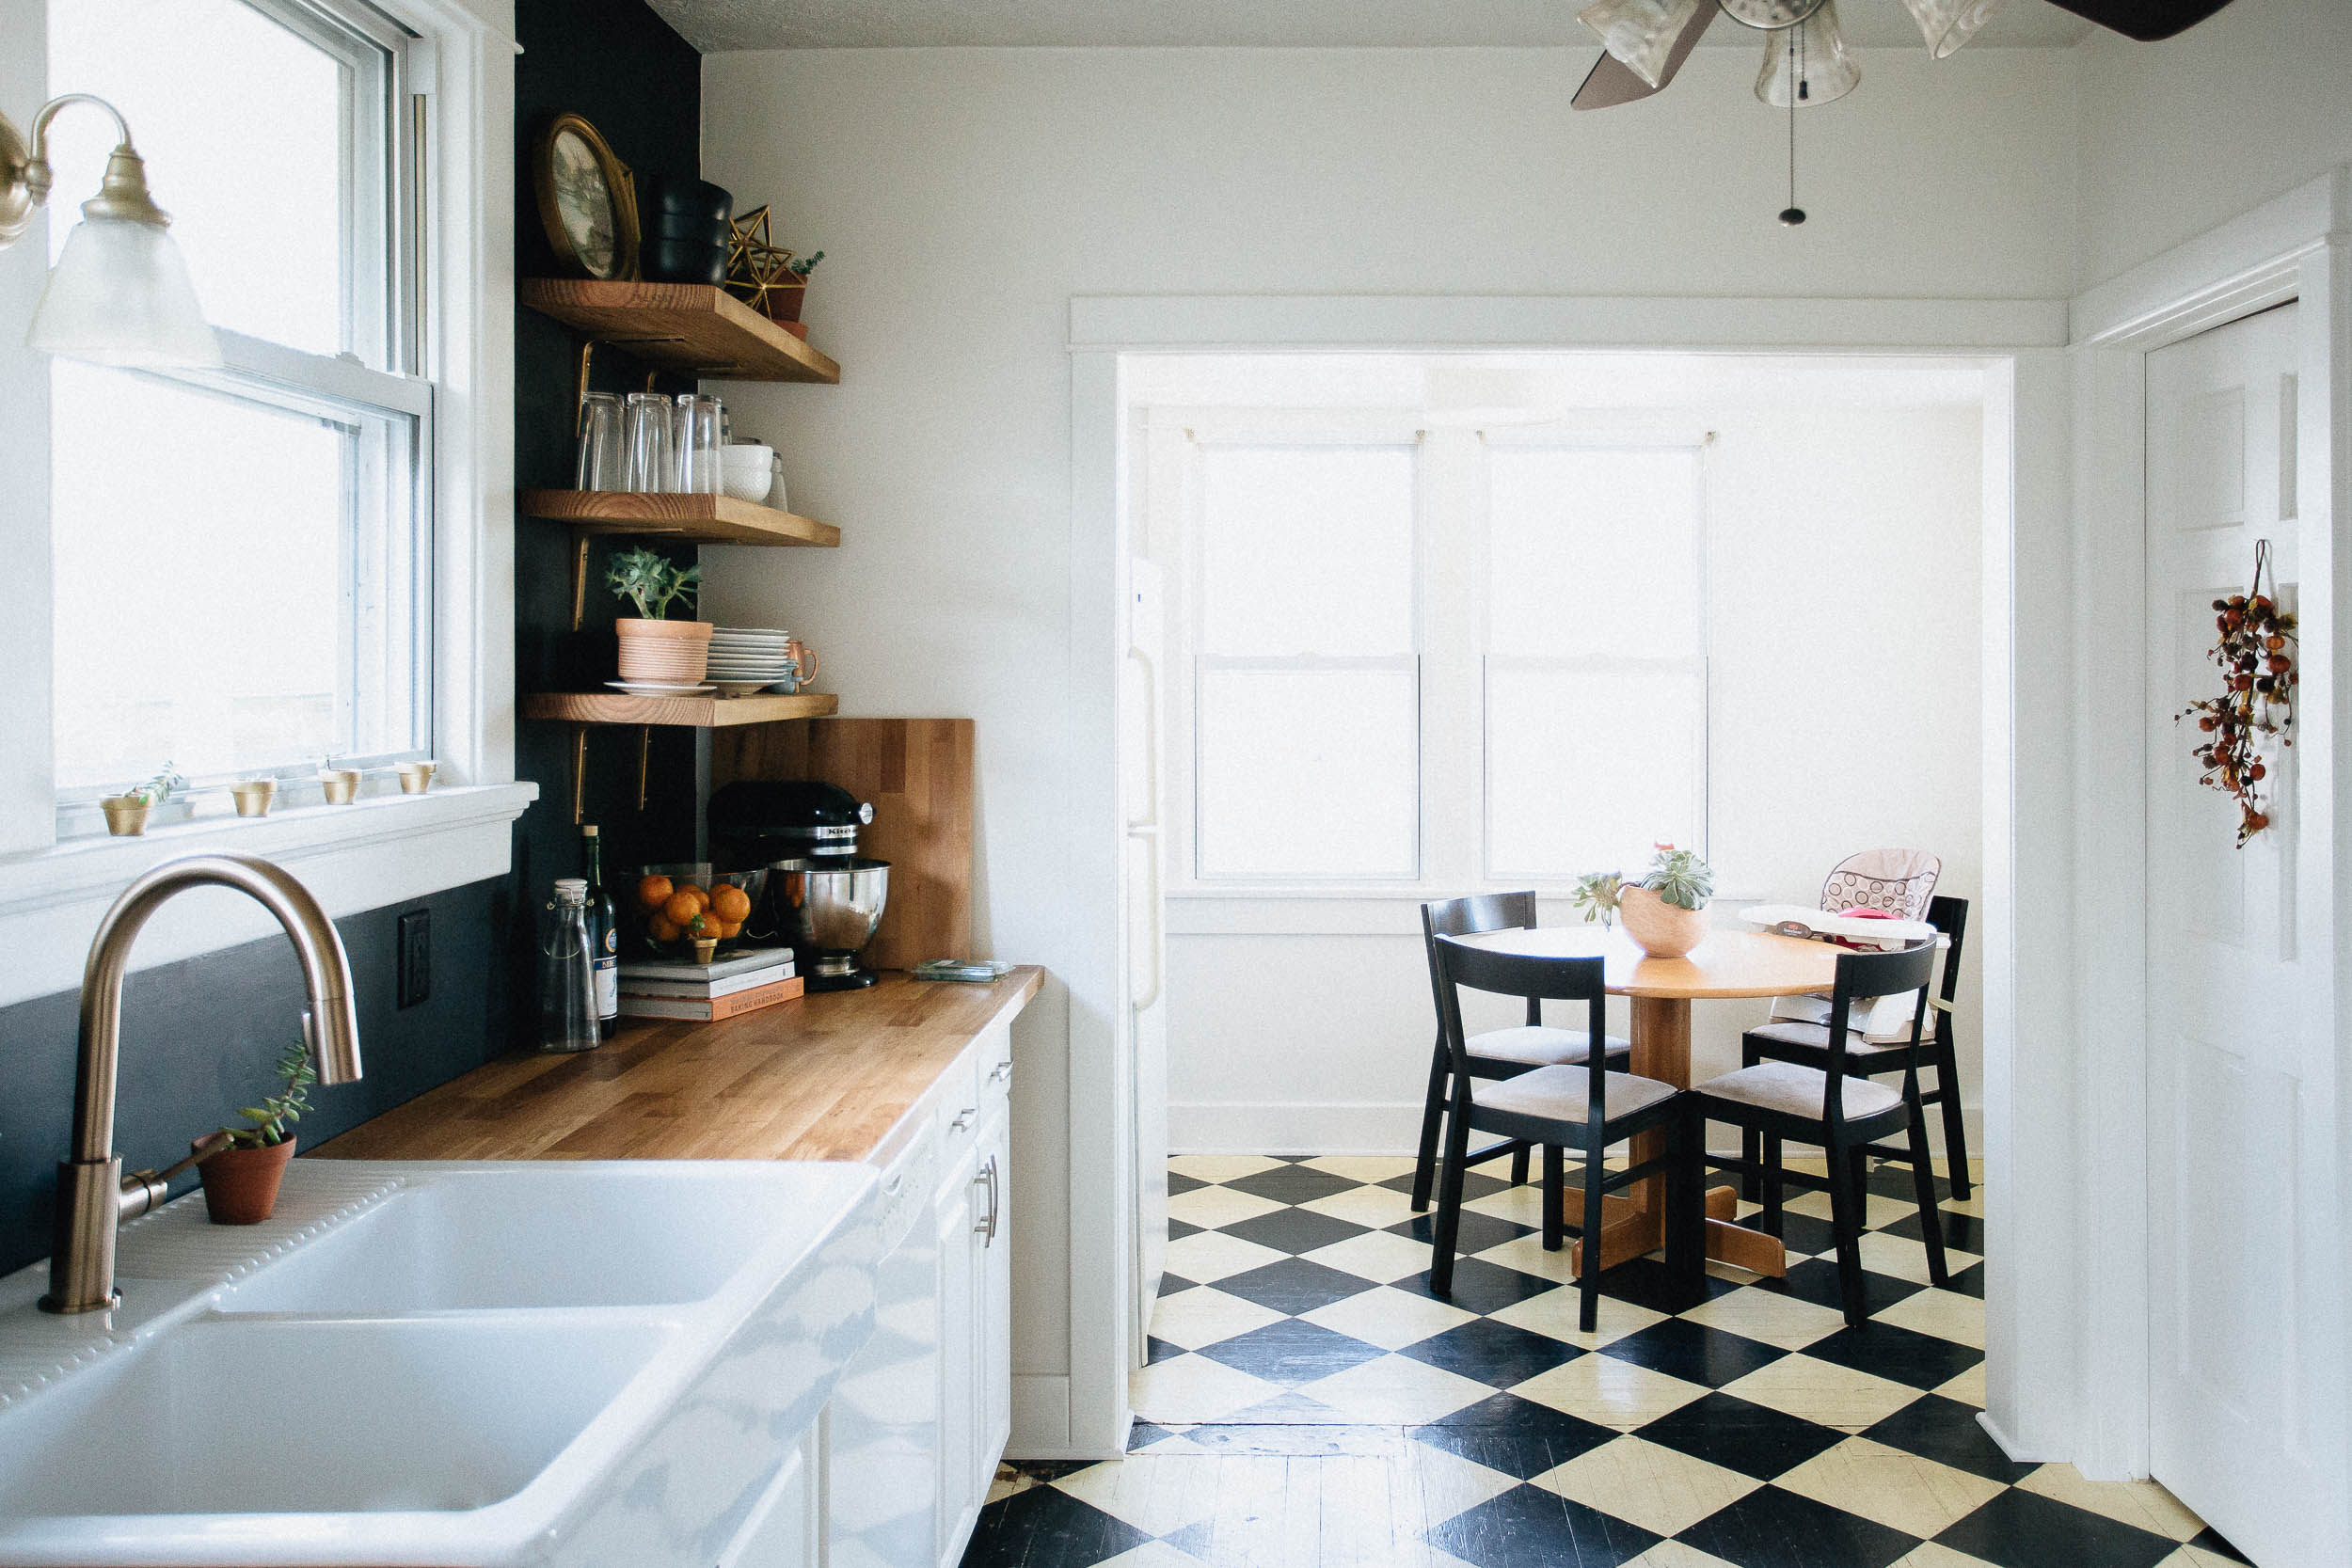
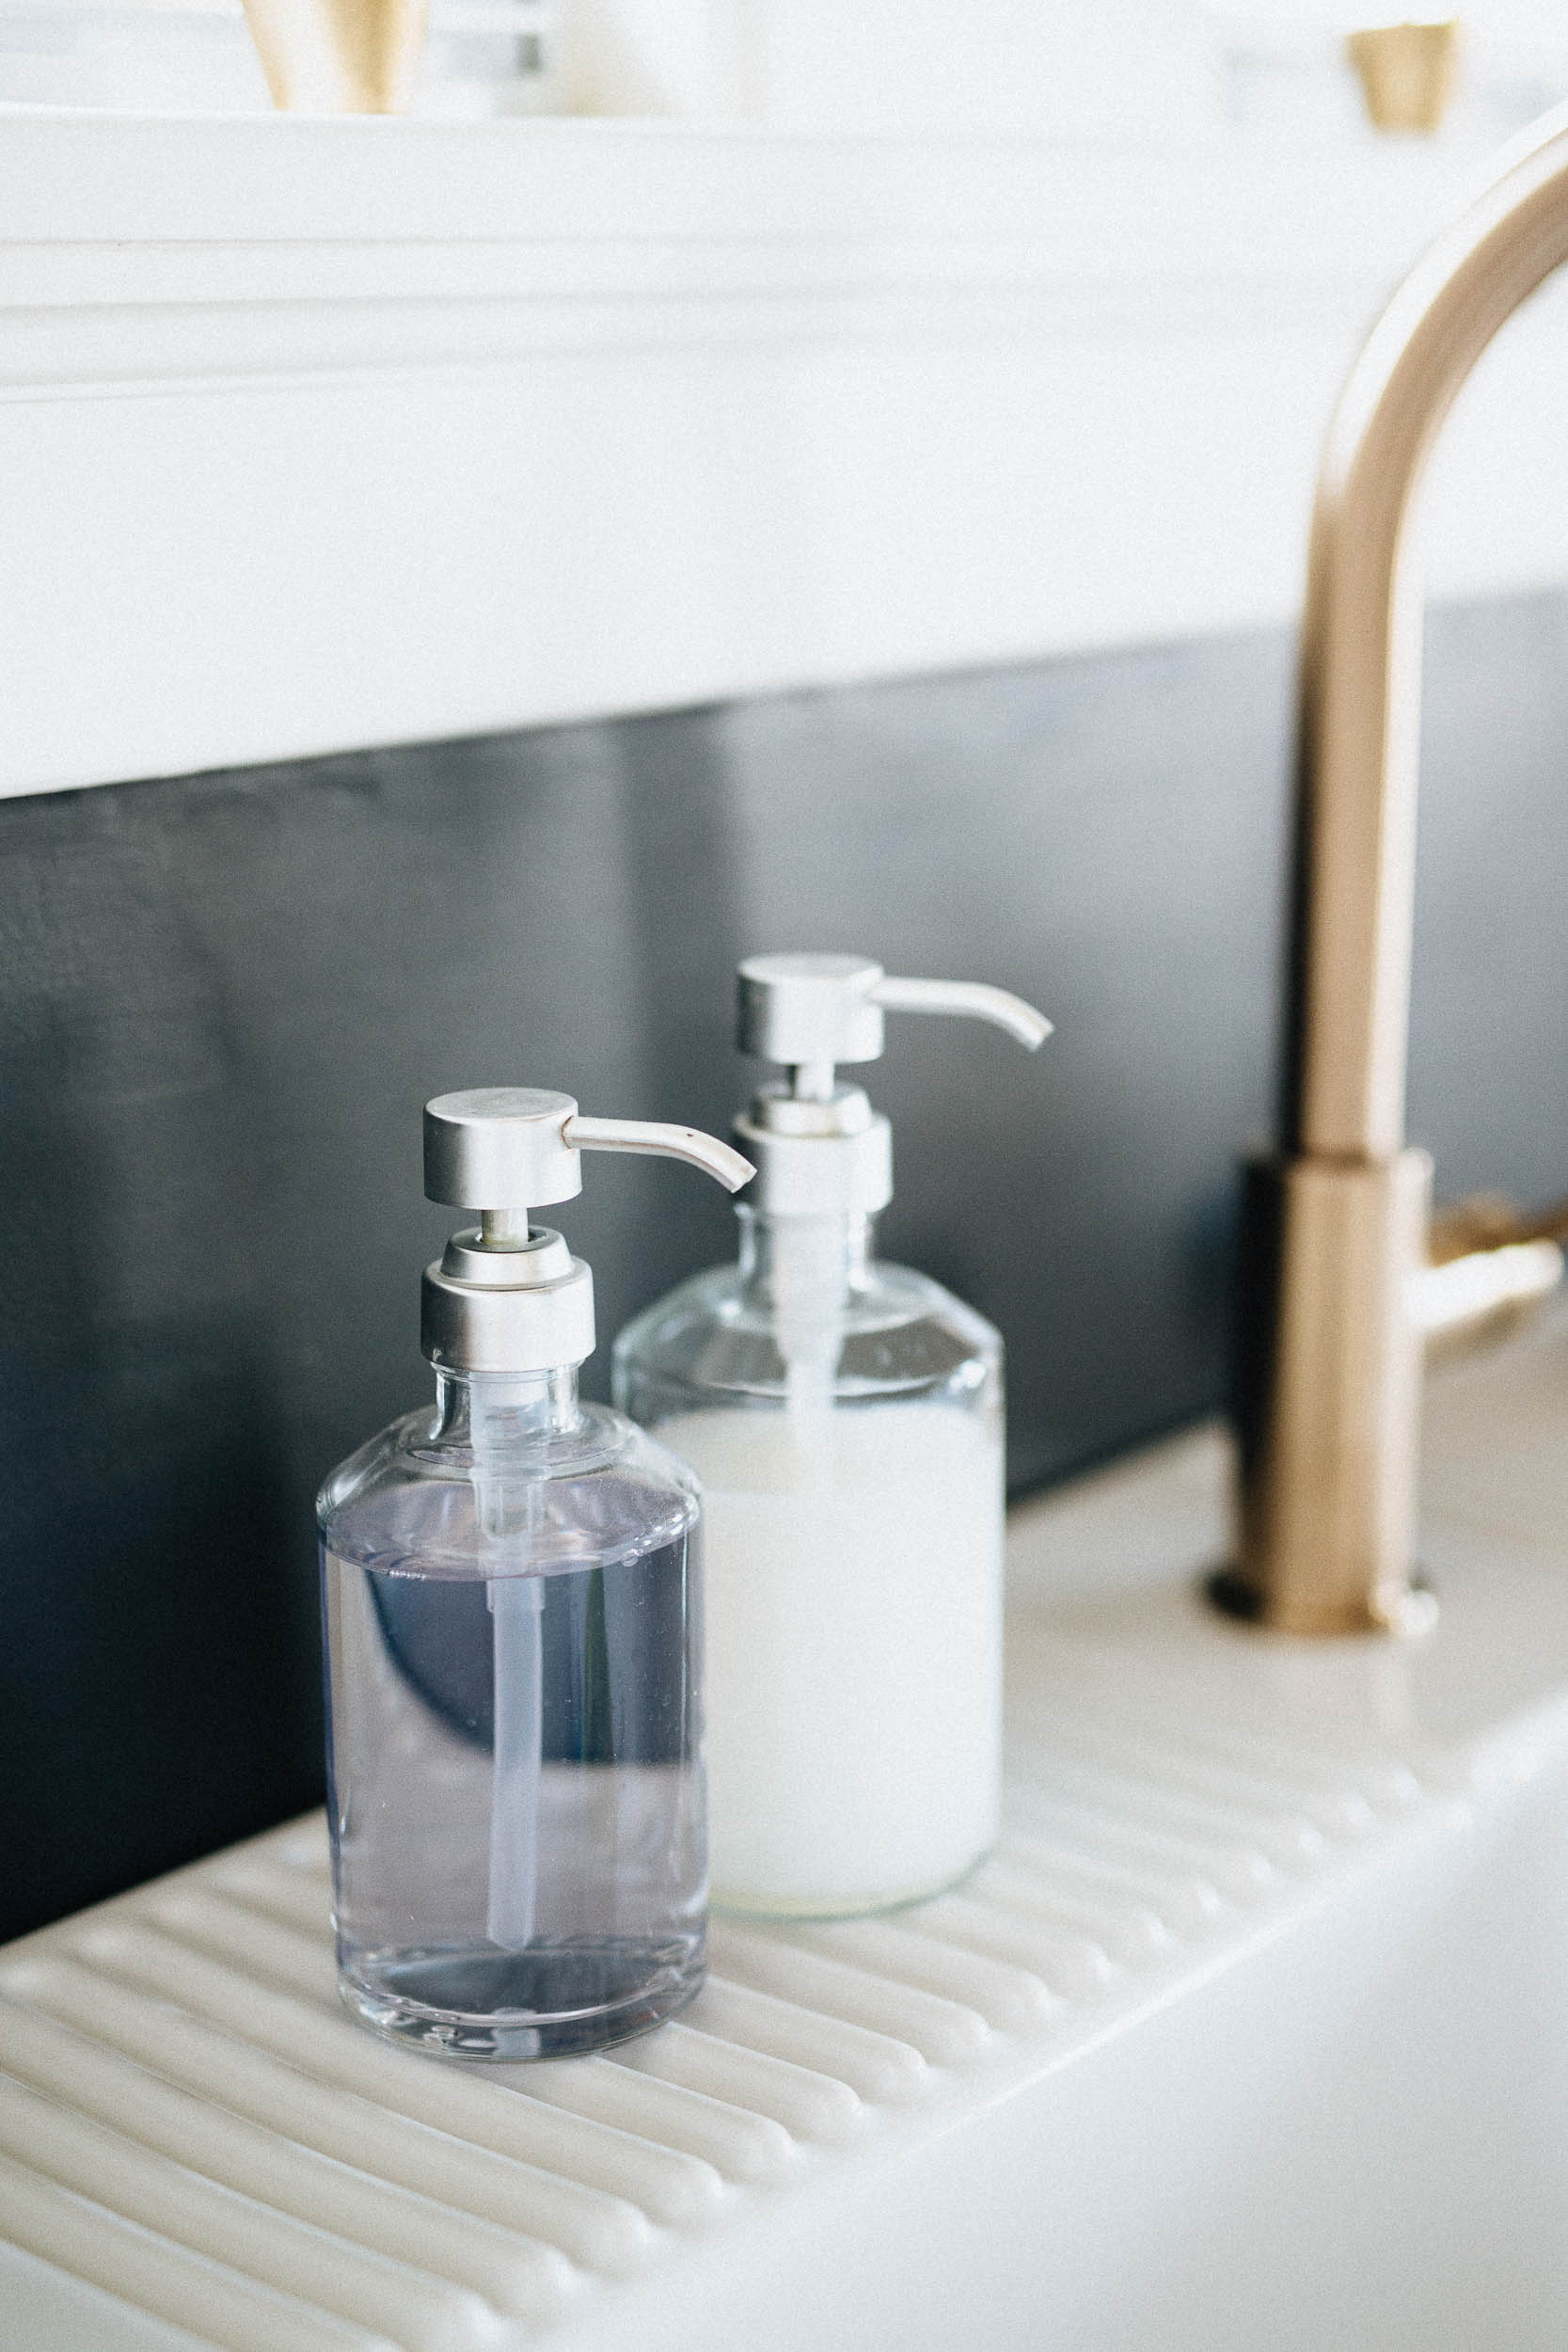
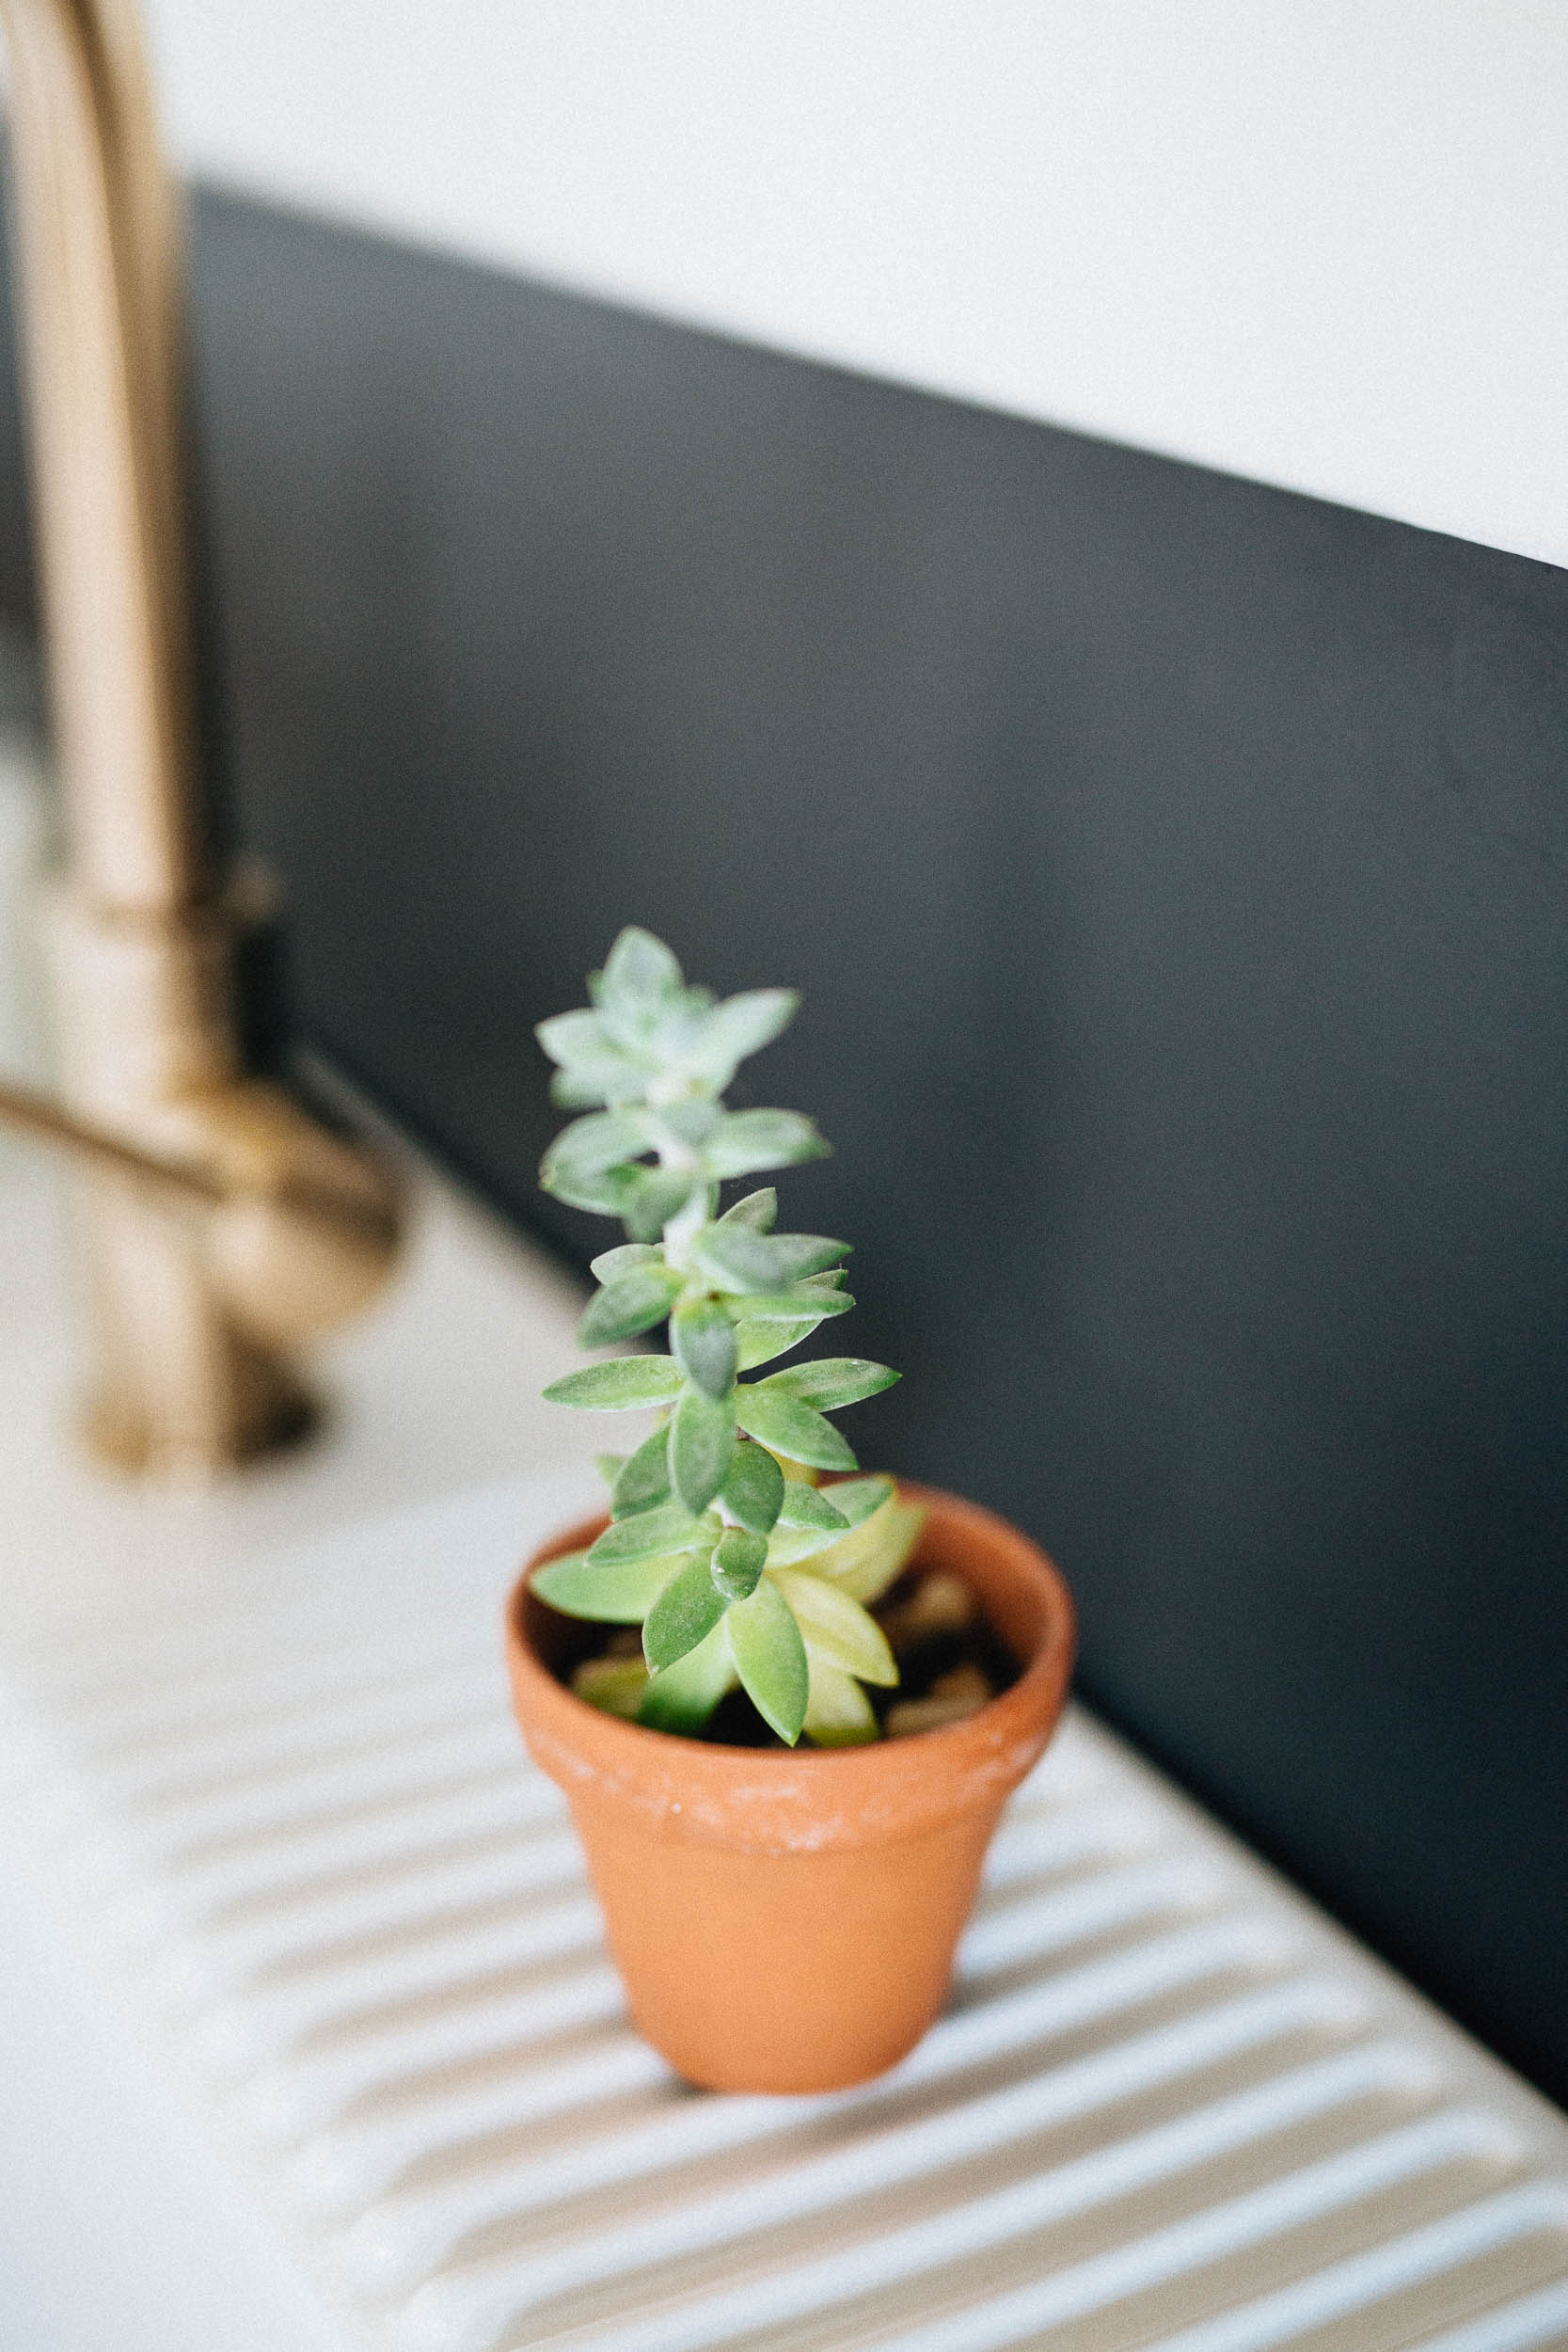
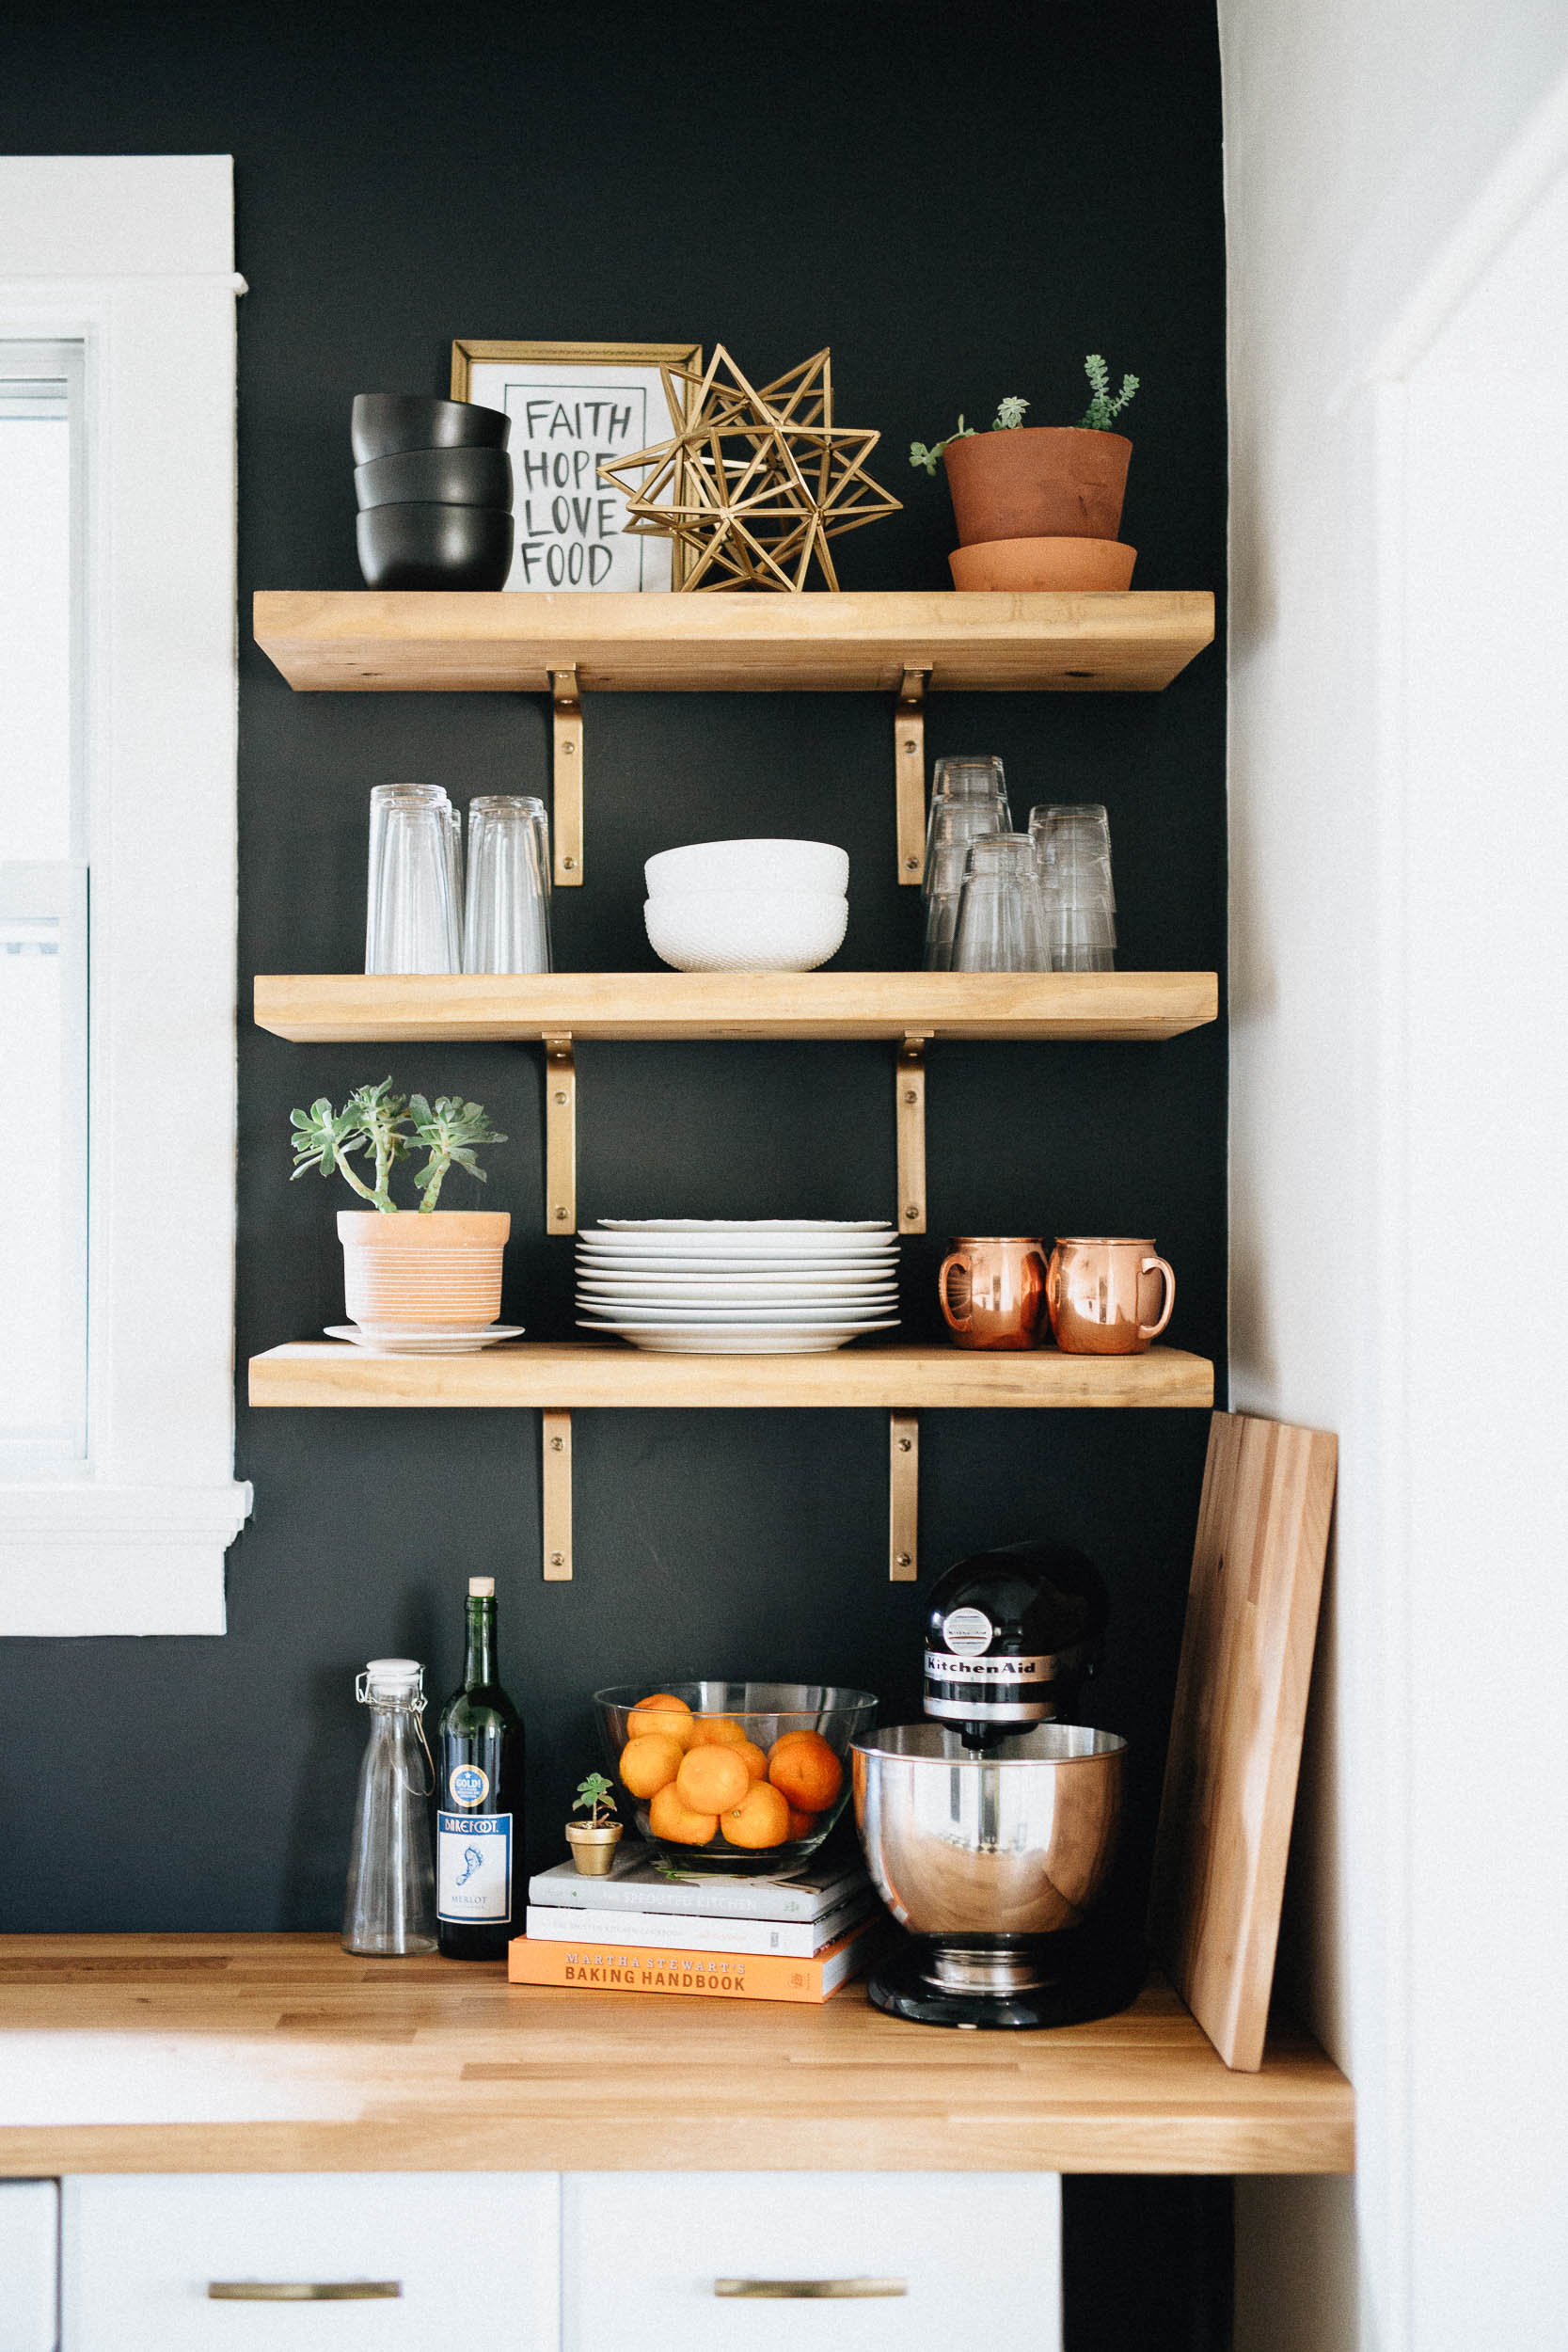
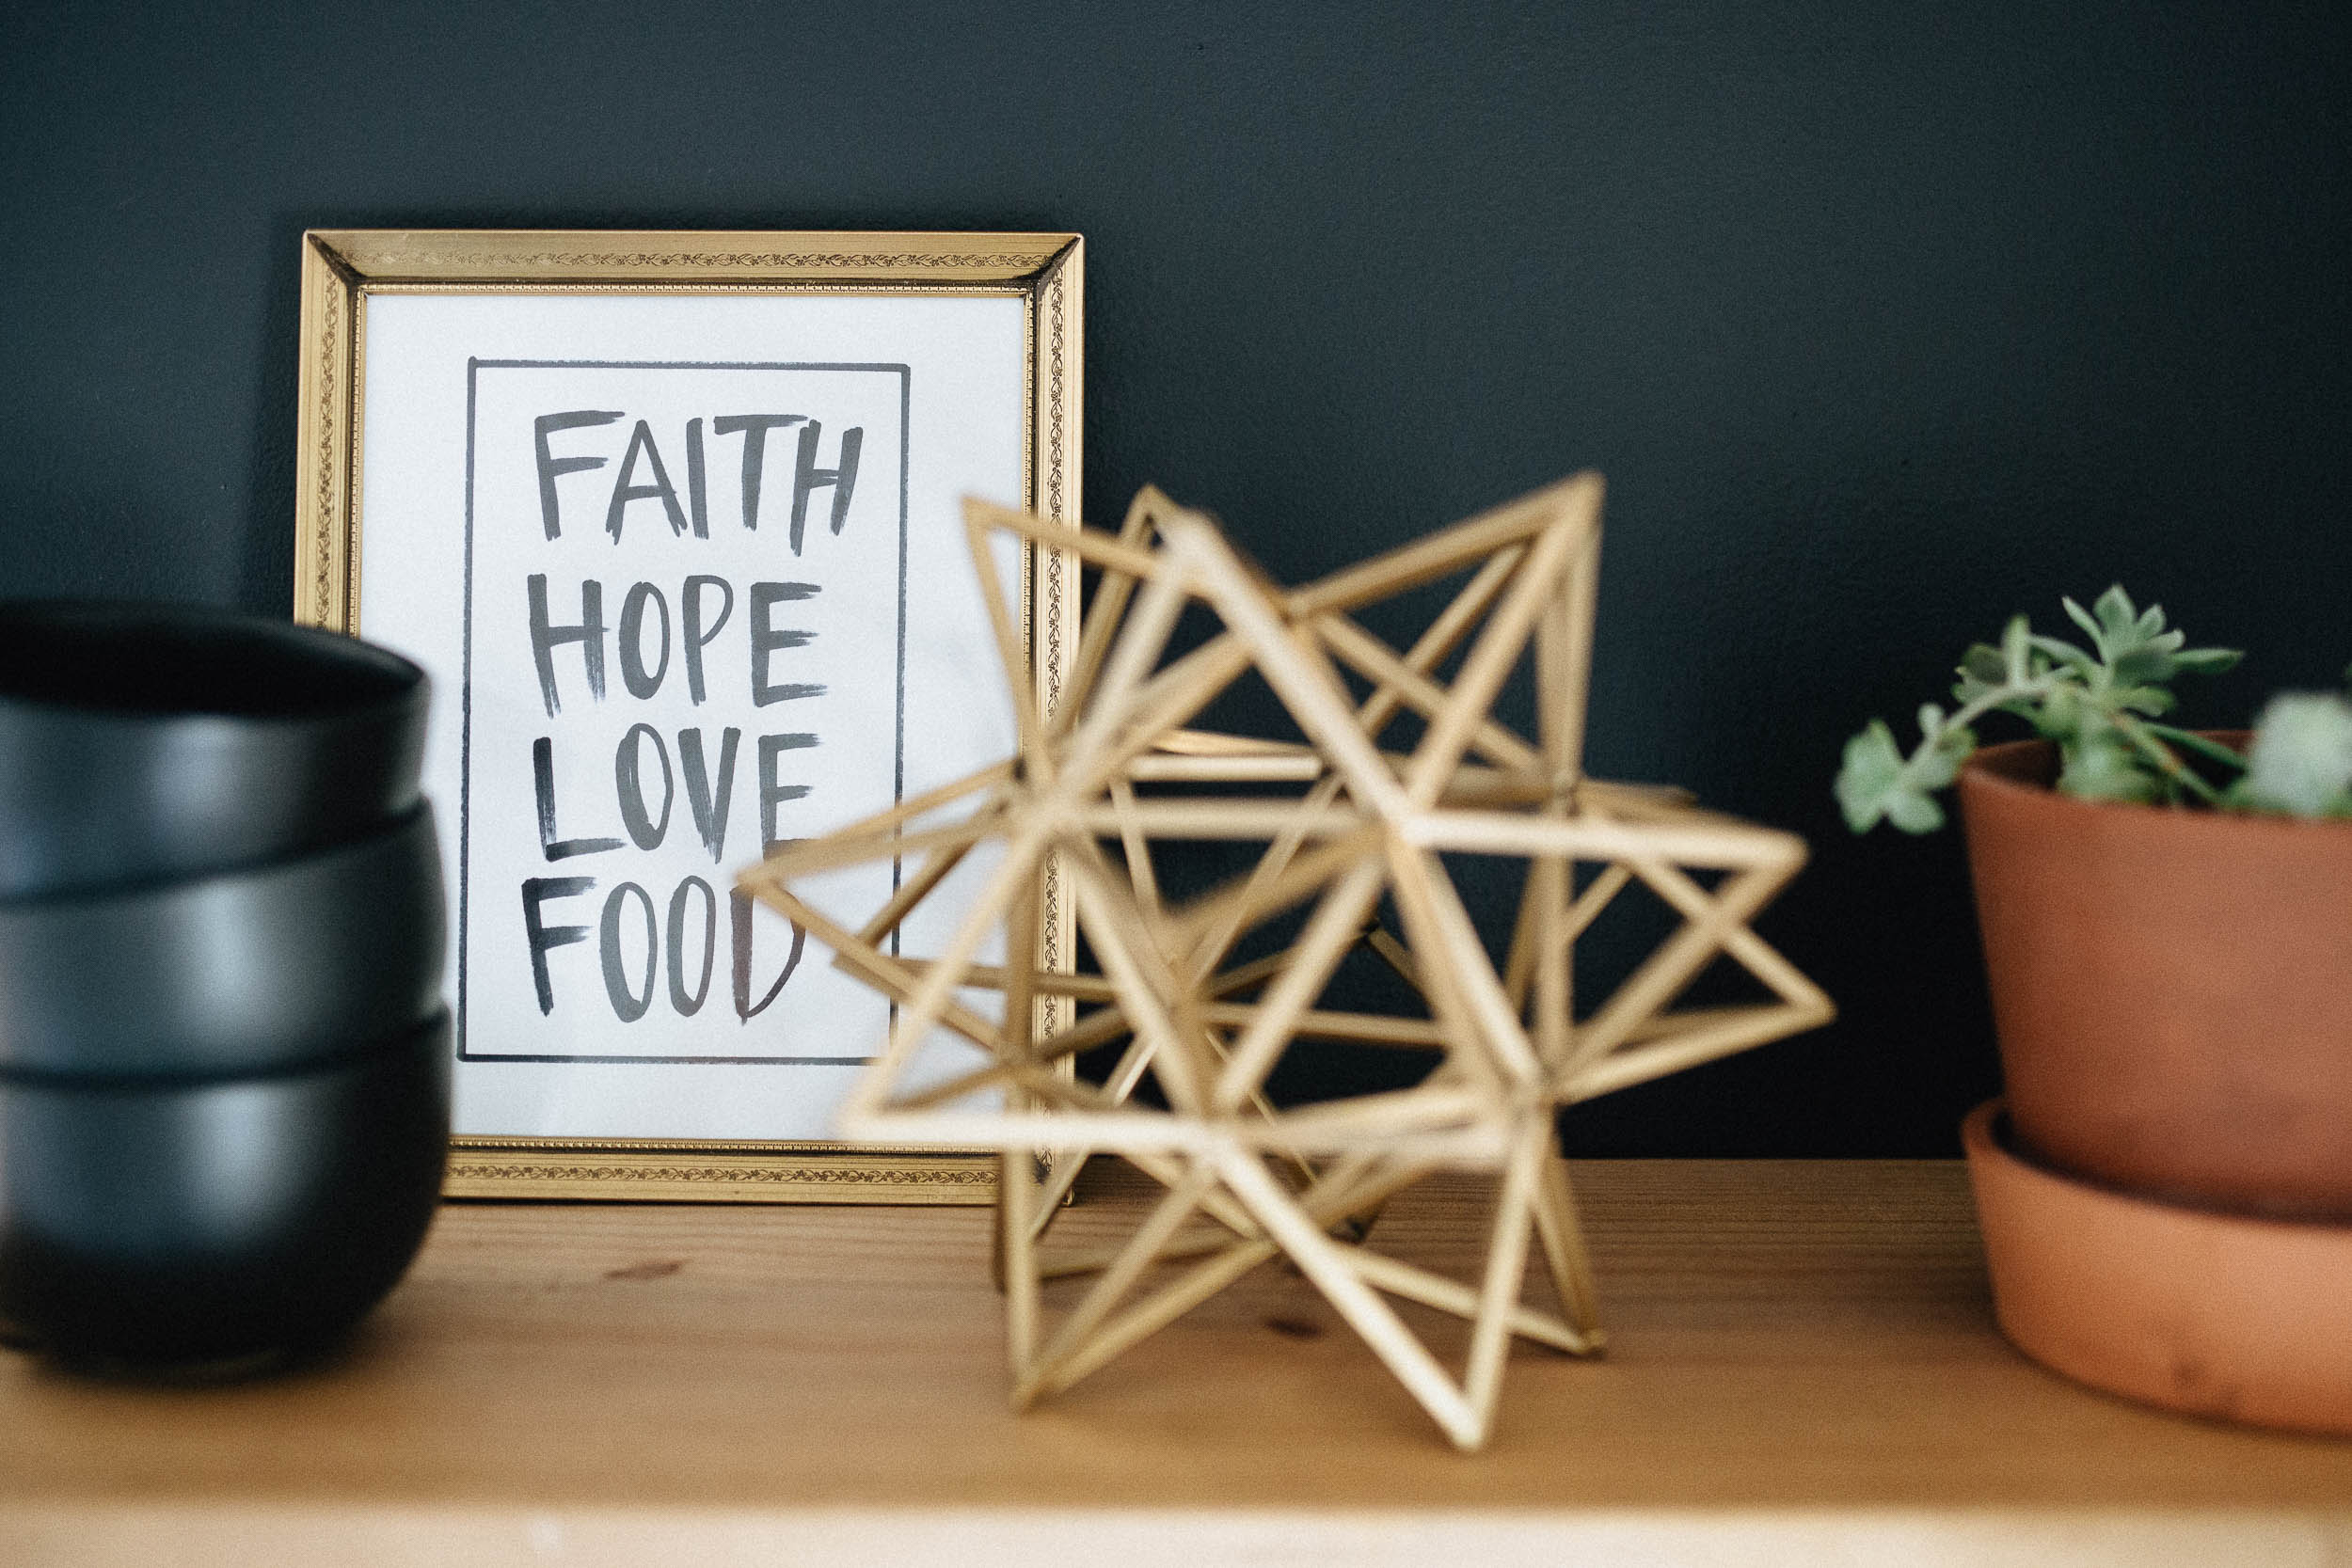
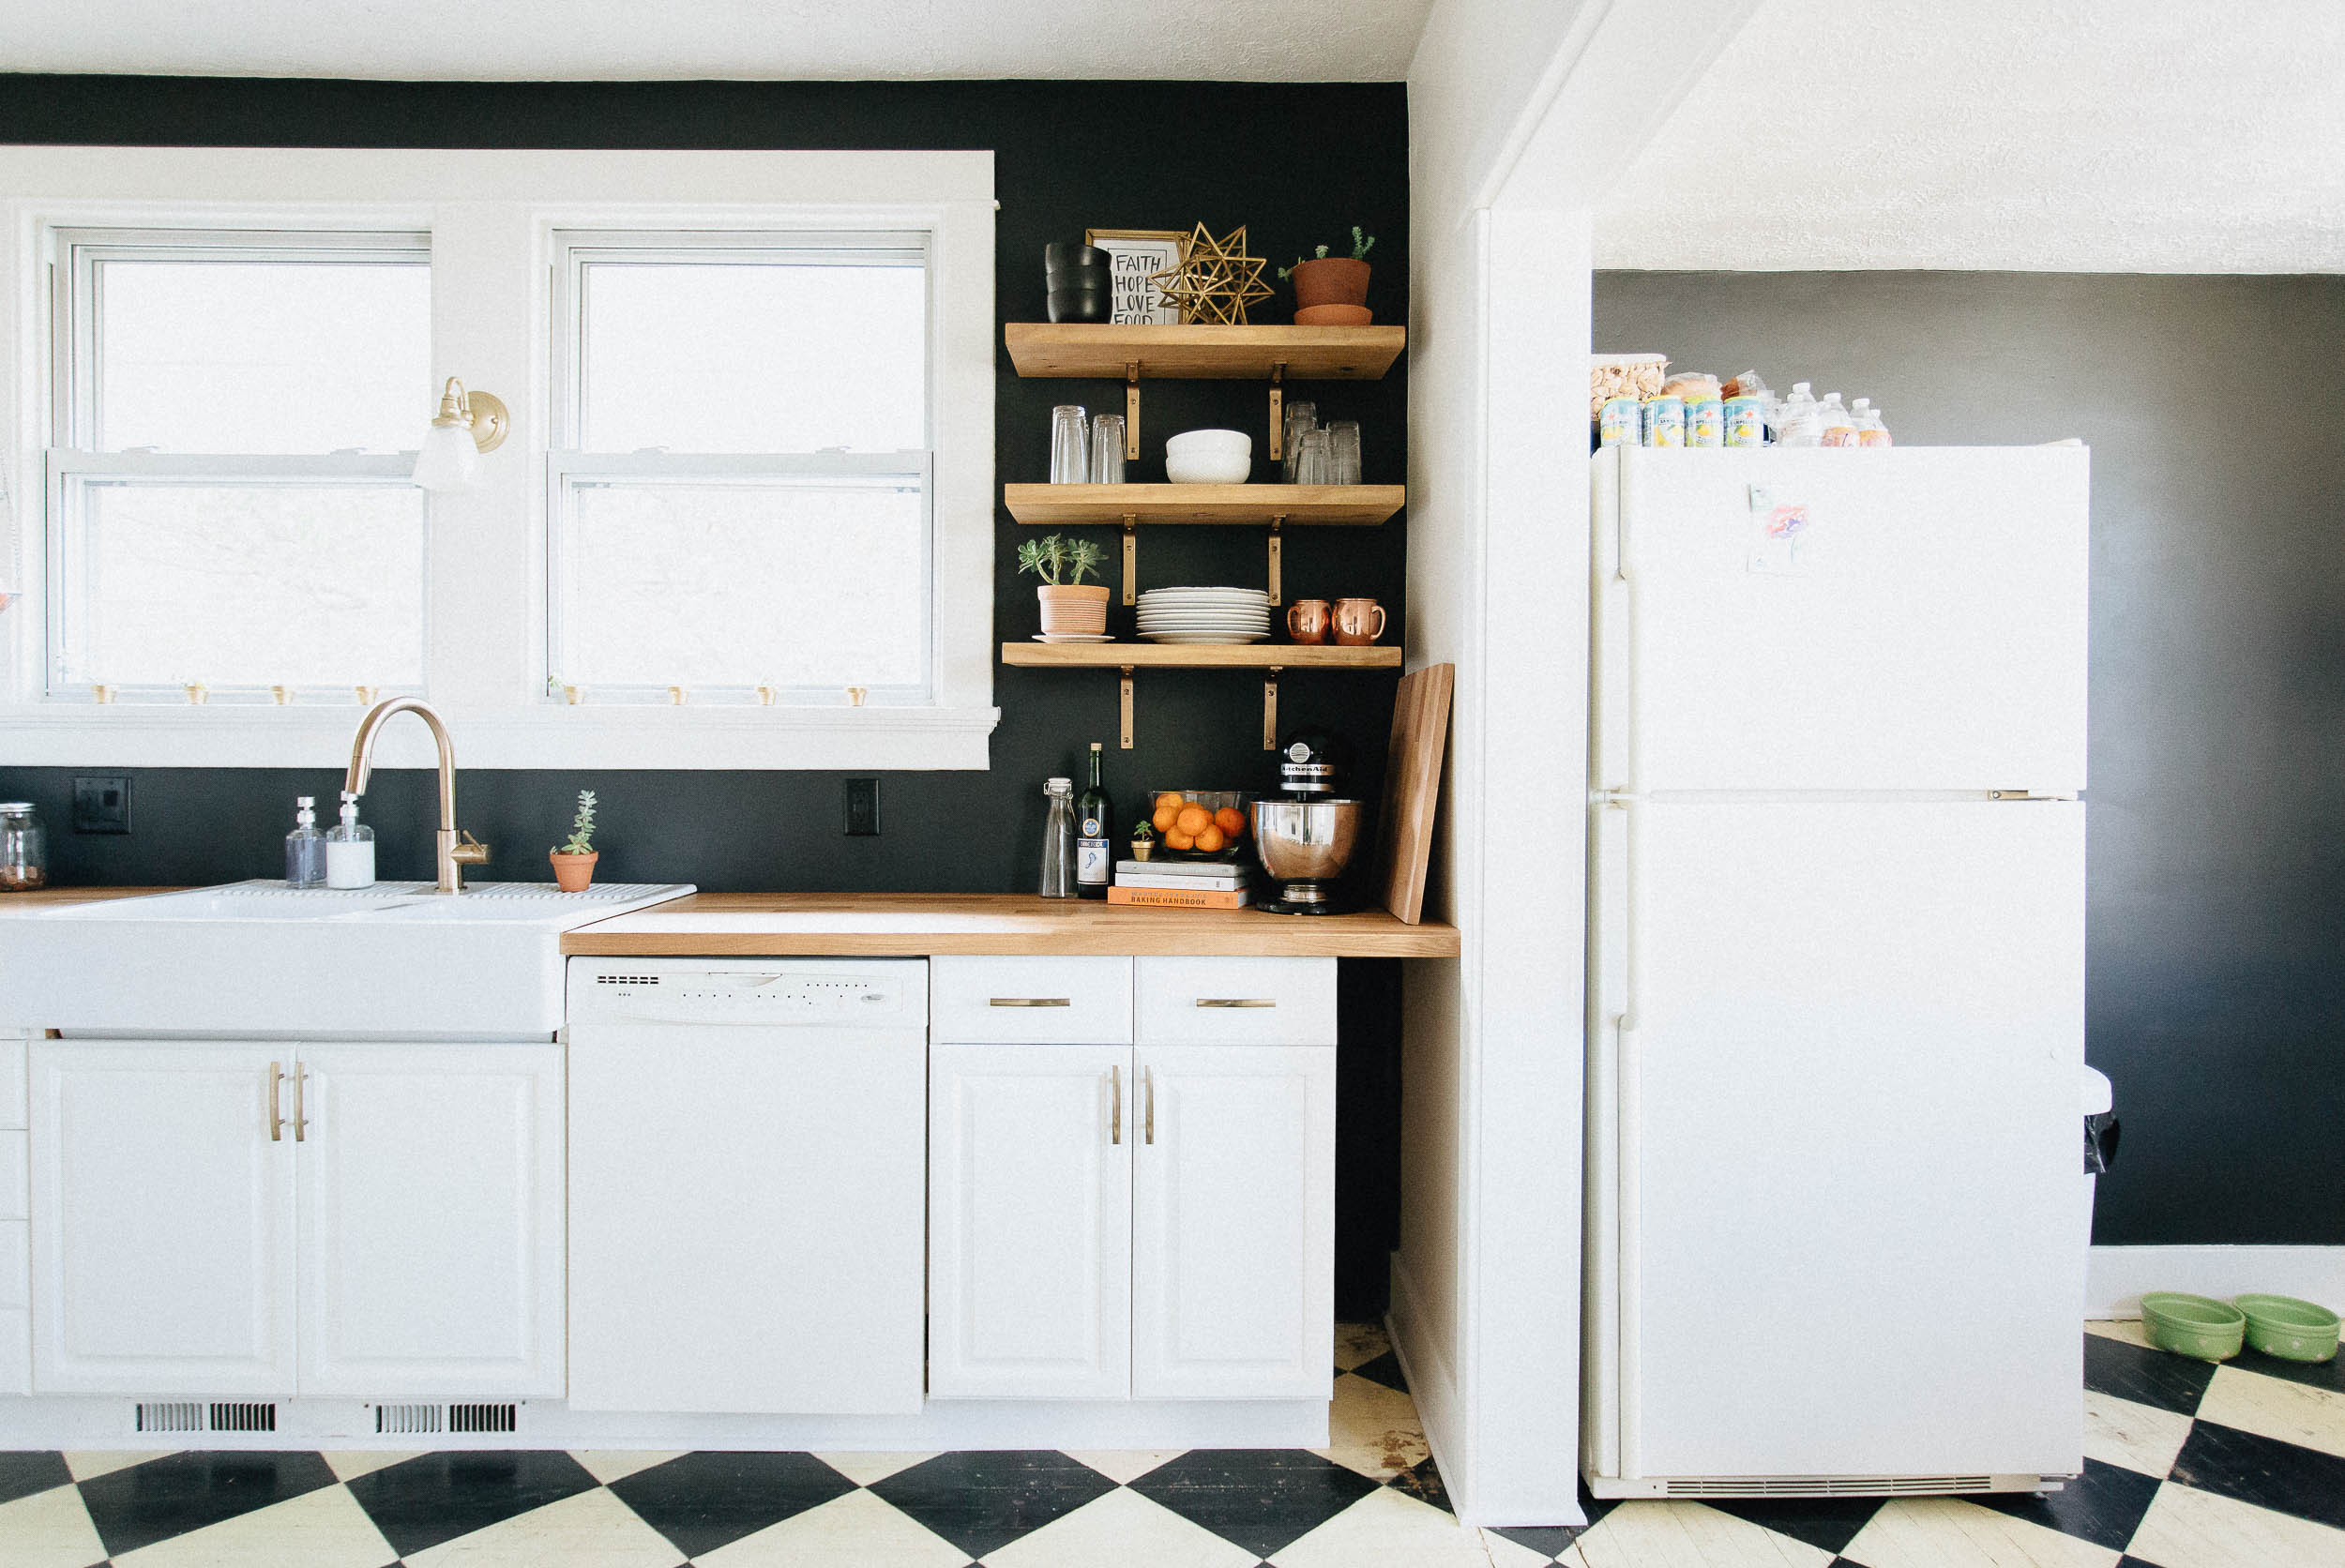
The design of the kitchen as a whole was very important to us, so we took to Pinterest and started putting together ideas for colors, tones, and decor. Our whole house is very clean and minimal, so we wanted to keep things cohesive with the rest of the house, but we also wanted to break from our white walls and choose something bold. We found some awesome brushed gold hardware that we used to build the design around, and the gold accents led us to the design choice that we were most nervous about, but had the potentially to make the biggest impact: black walls. We decided to keep the cabinets very white and clean (in fact they’re the same color as our living room and dining room, Sherwin William’s Westhighland White), which makes the black wall really pop and gives us the bold look we wanted!
We’re SUPER excited about how everything turned out!
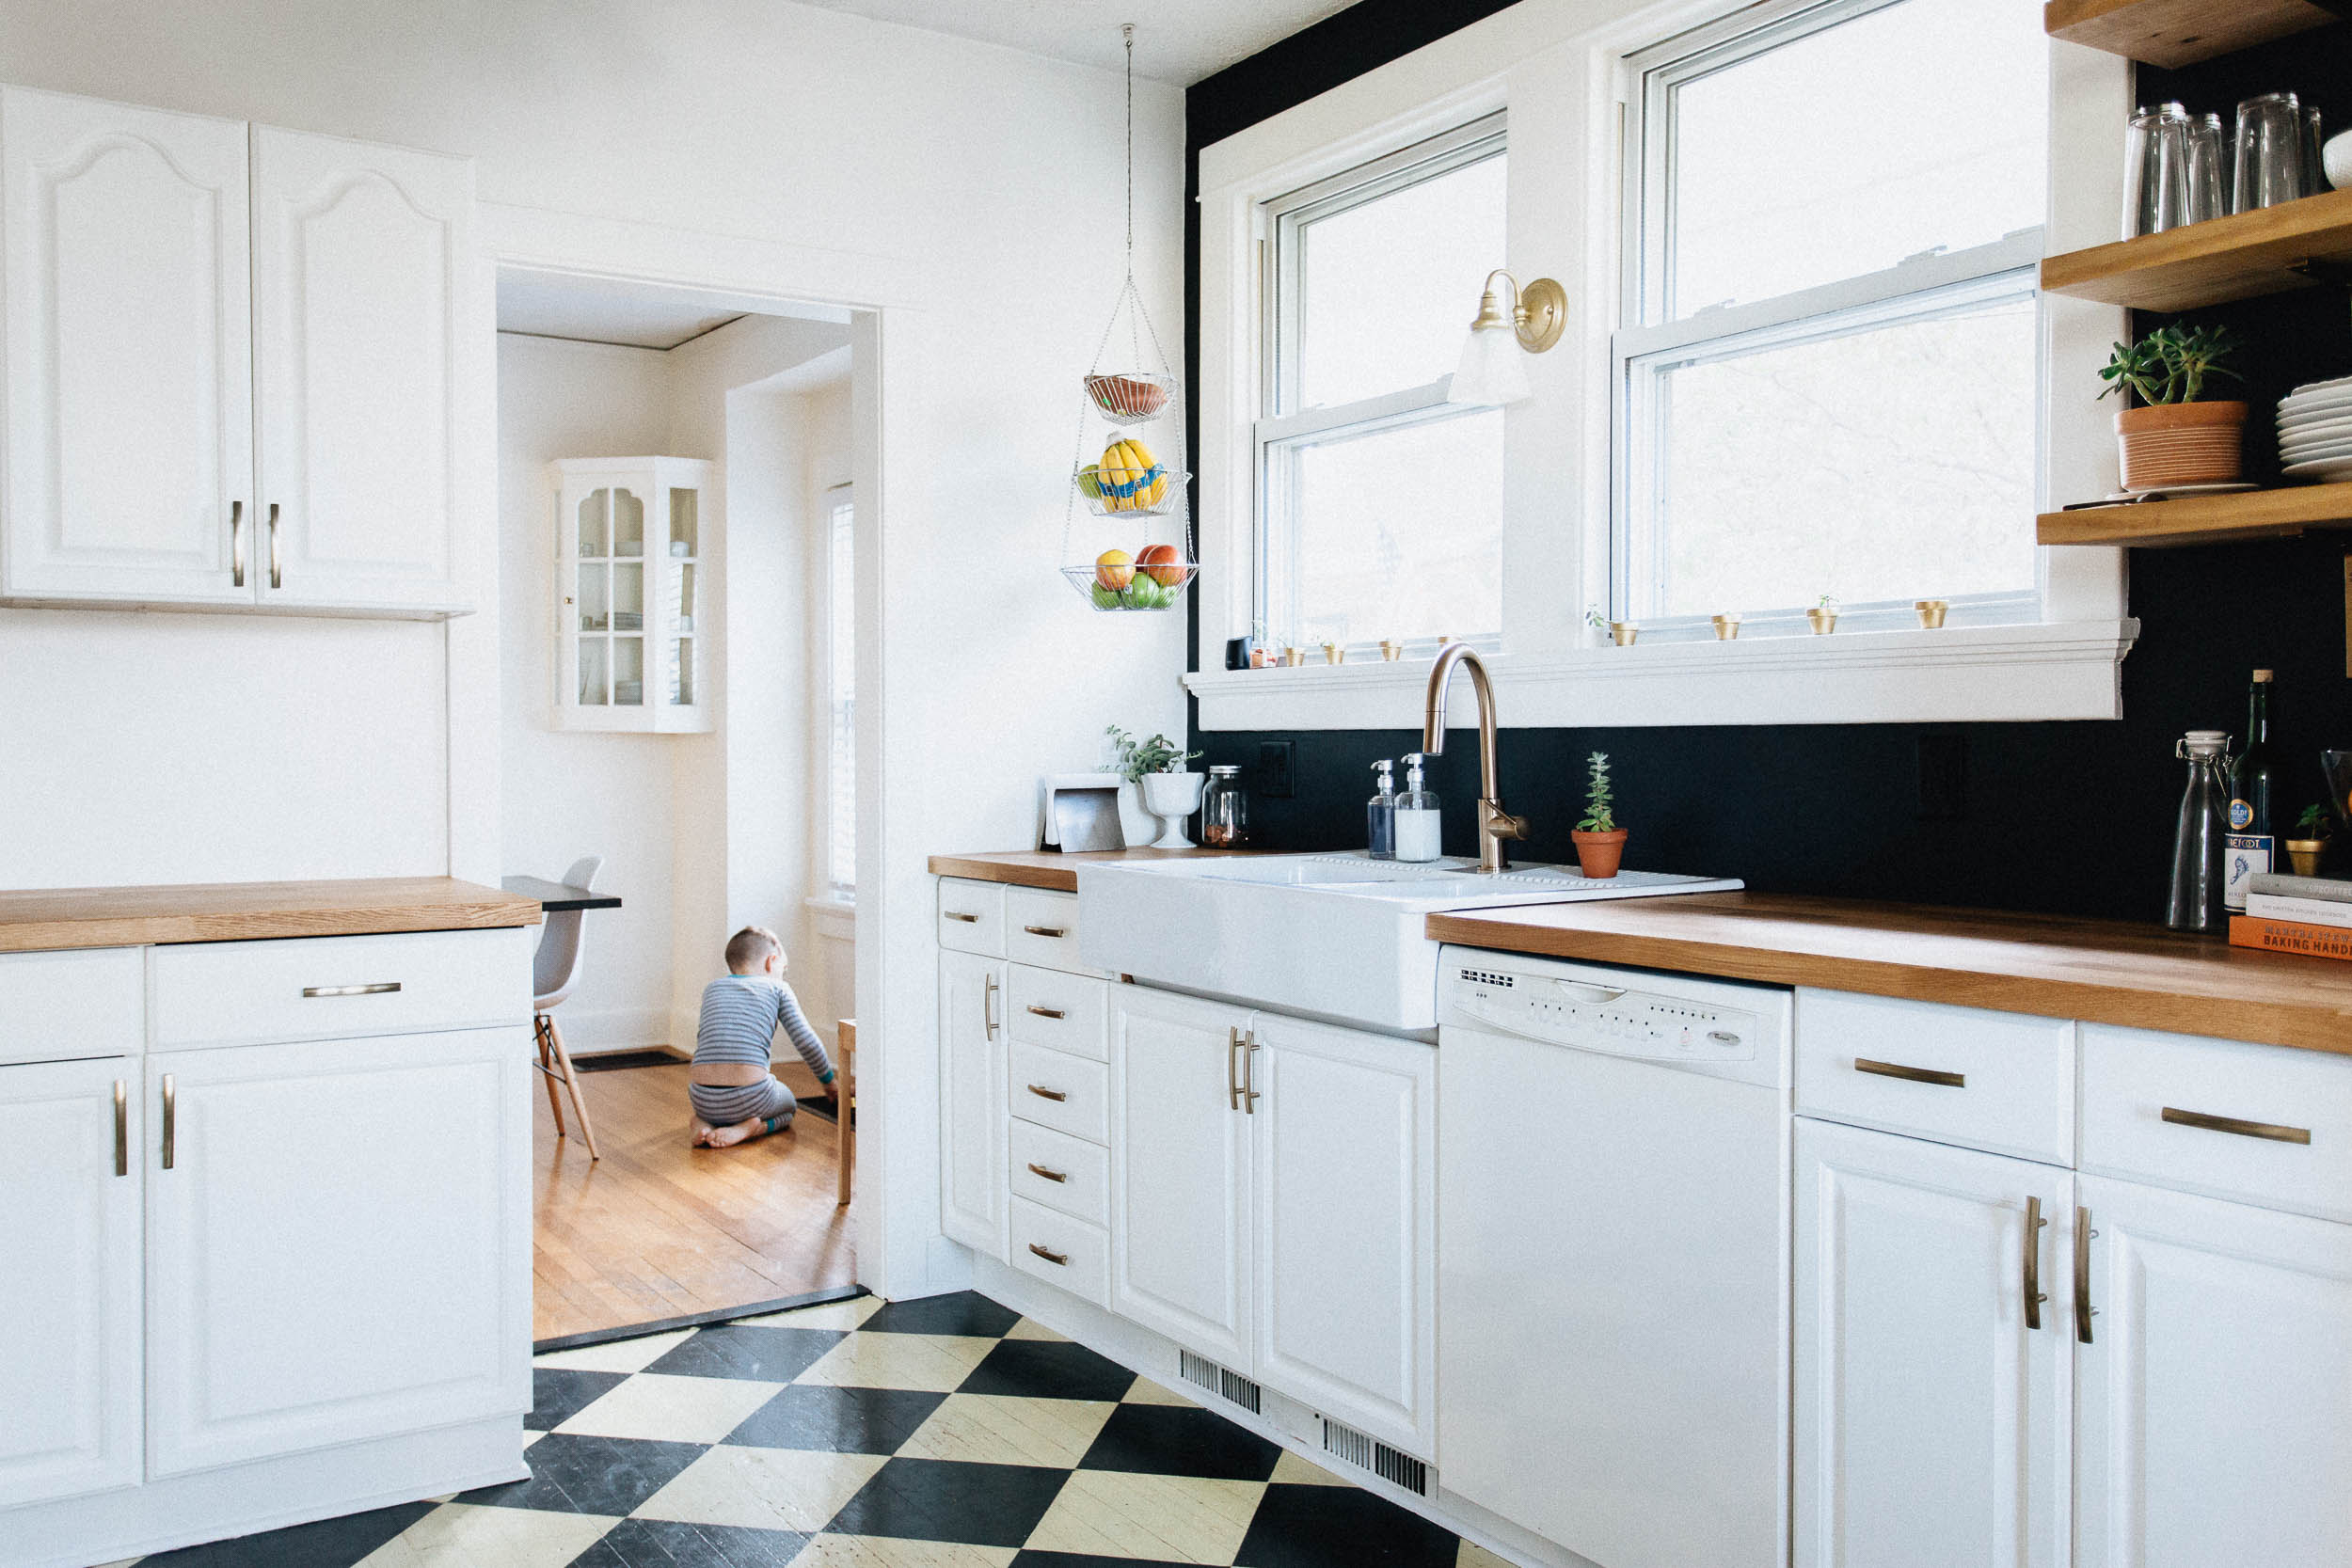
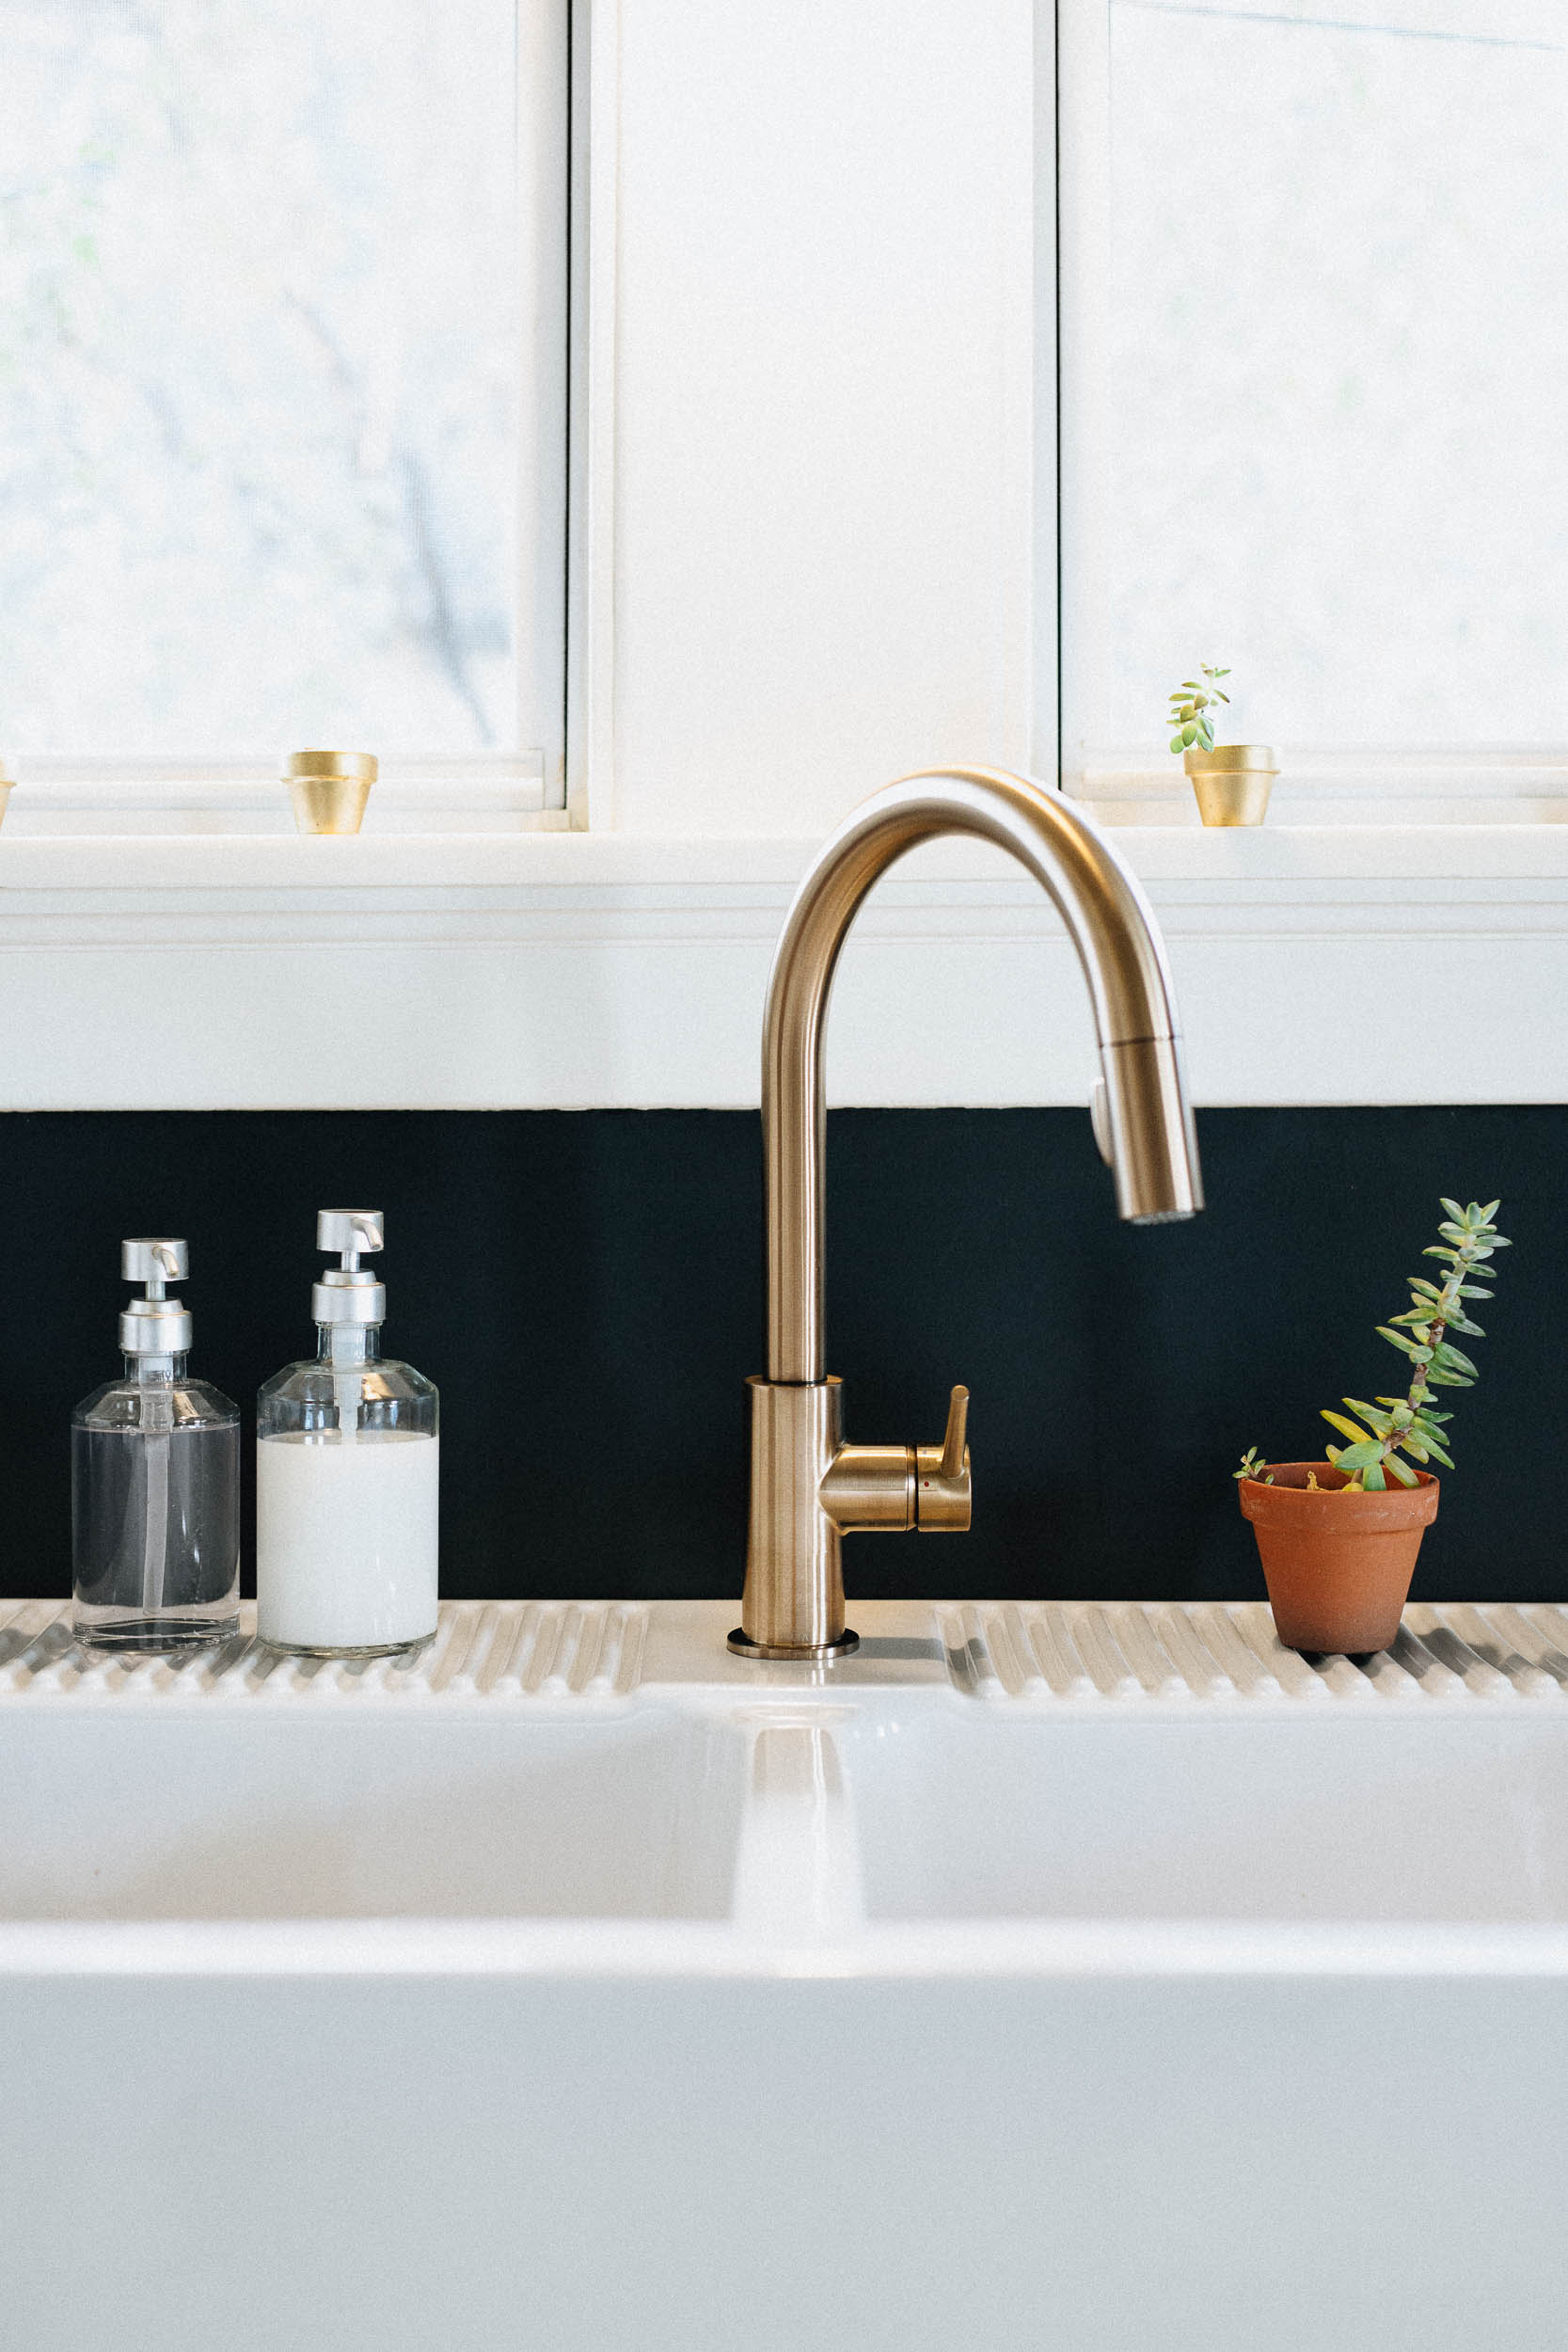
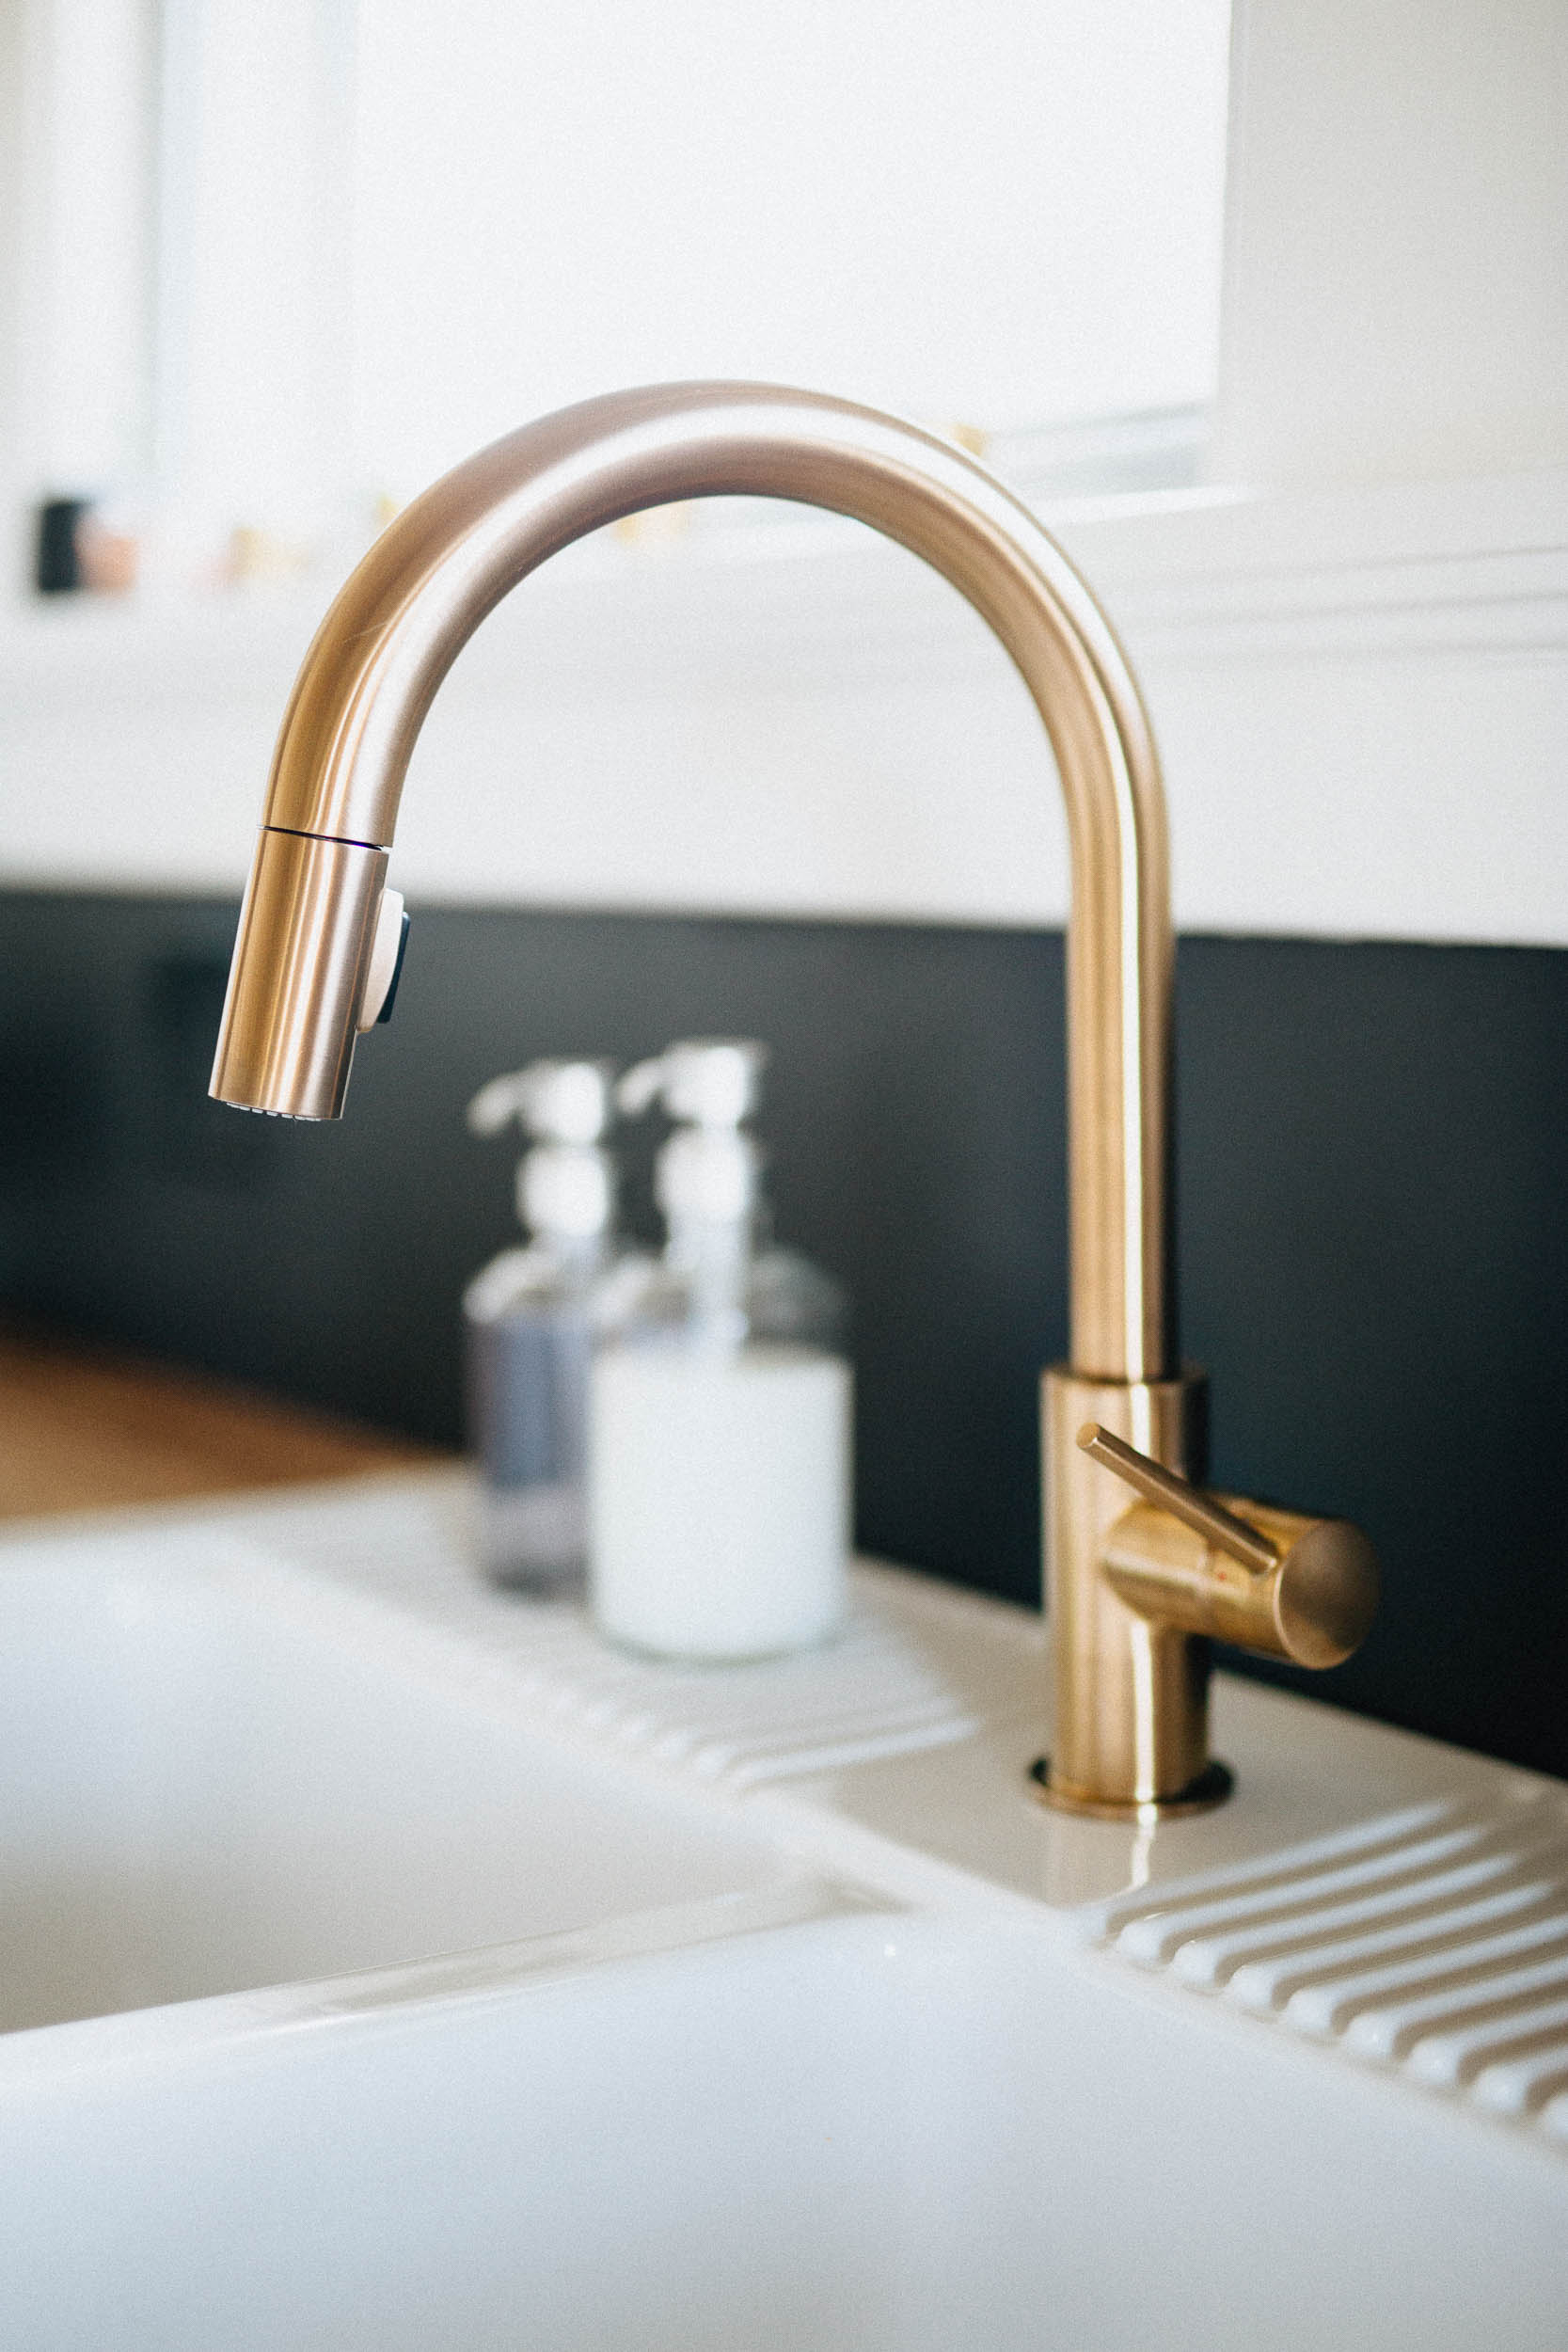
Our one splurge item for the kitchen was this amazing modern brushed gold faucet from Delta. It’s really the key piece to the entire design, and we wavered on the decision but we really think the kitchen design wouldn’t work without it.
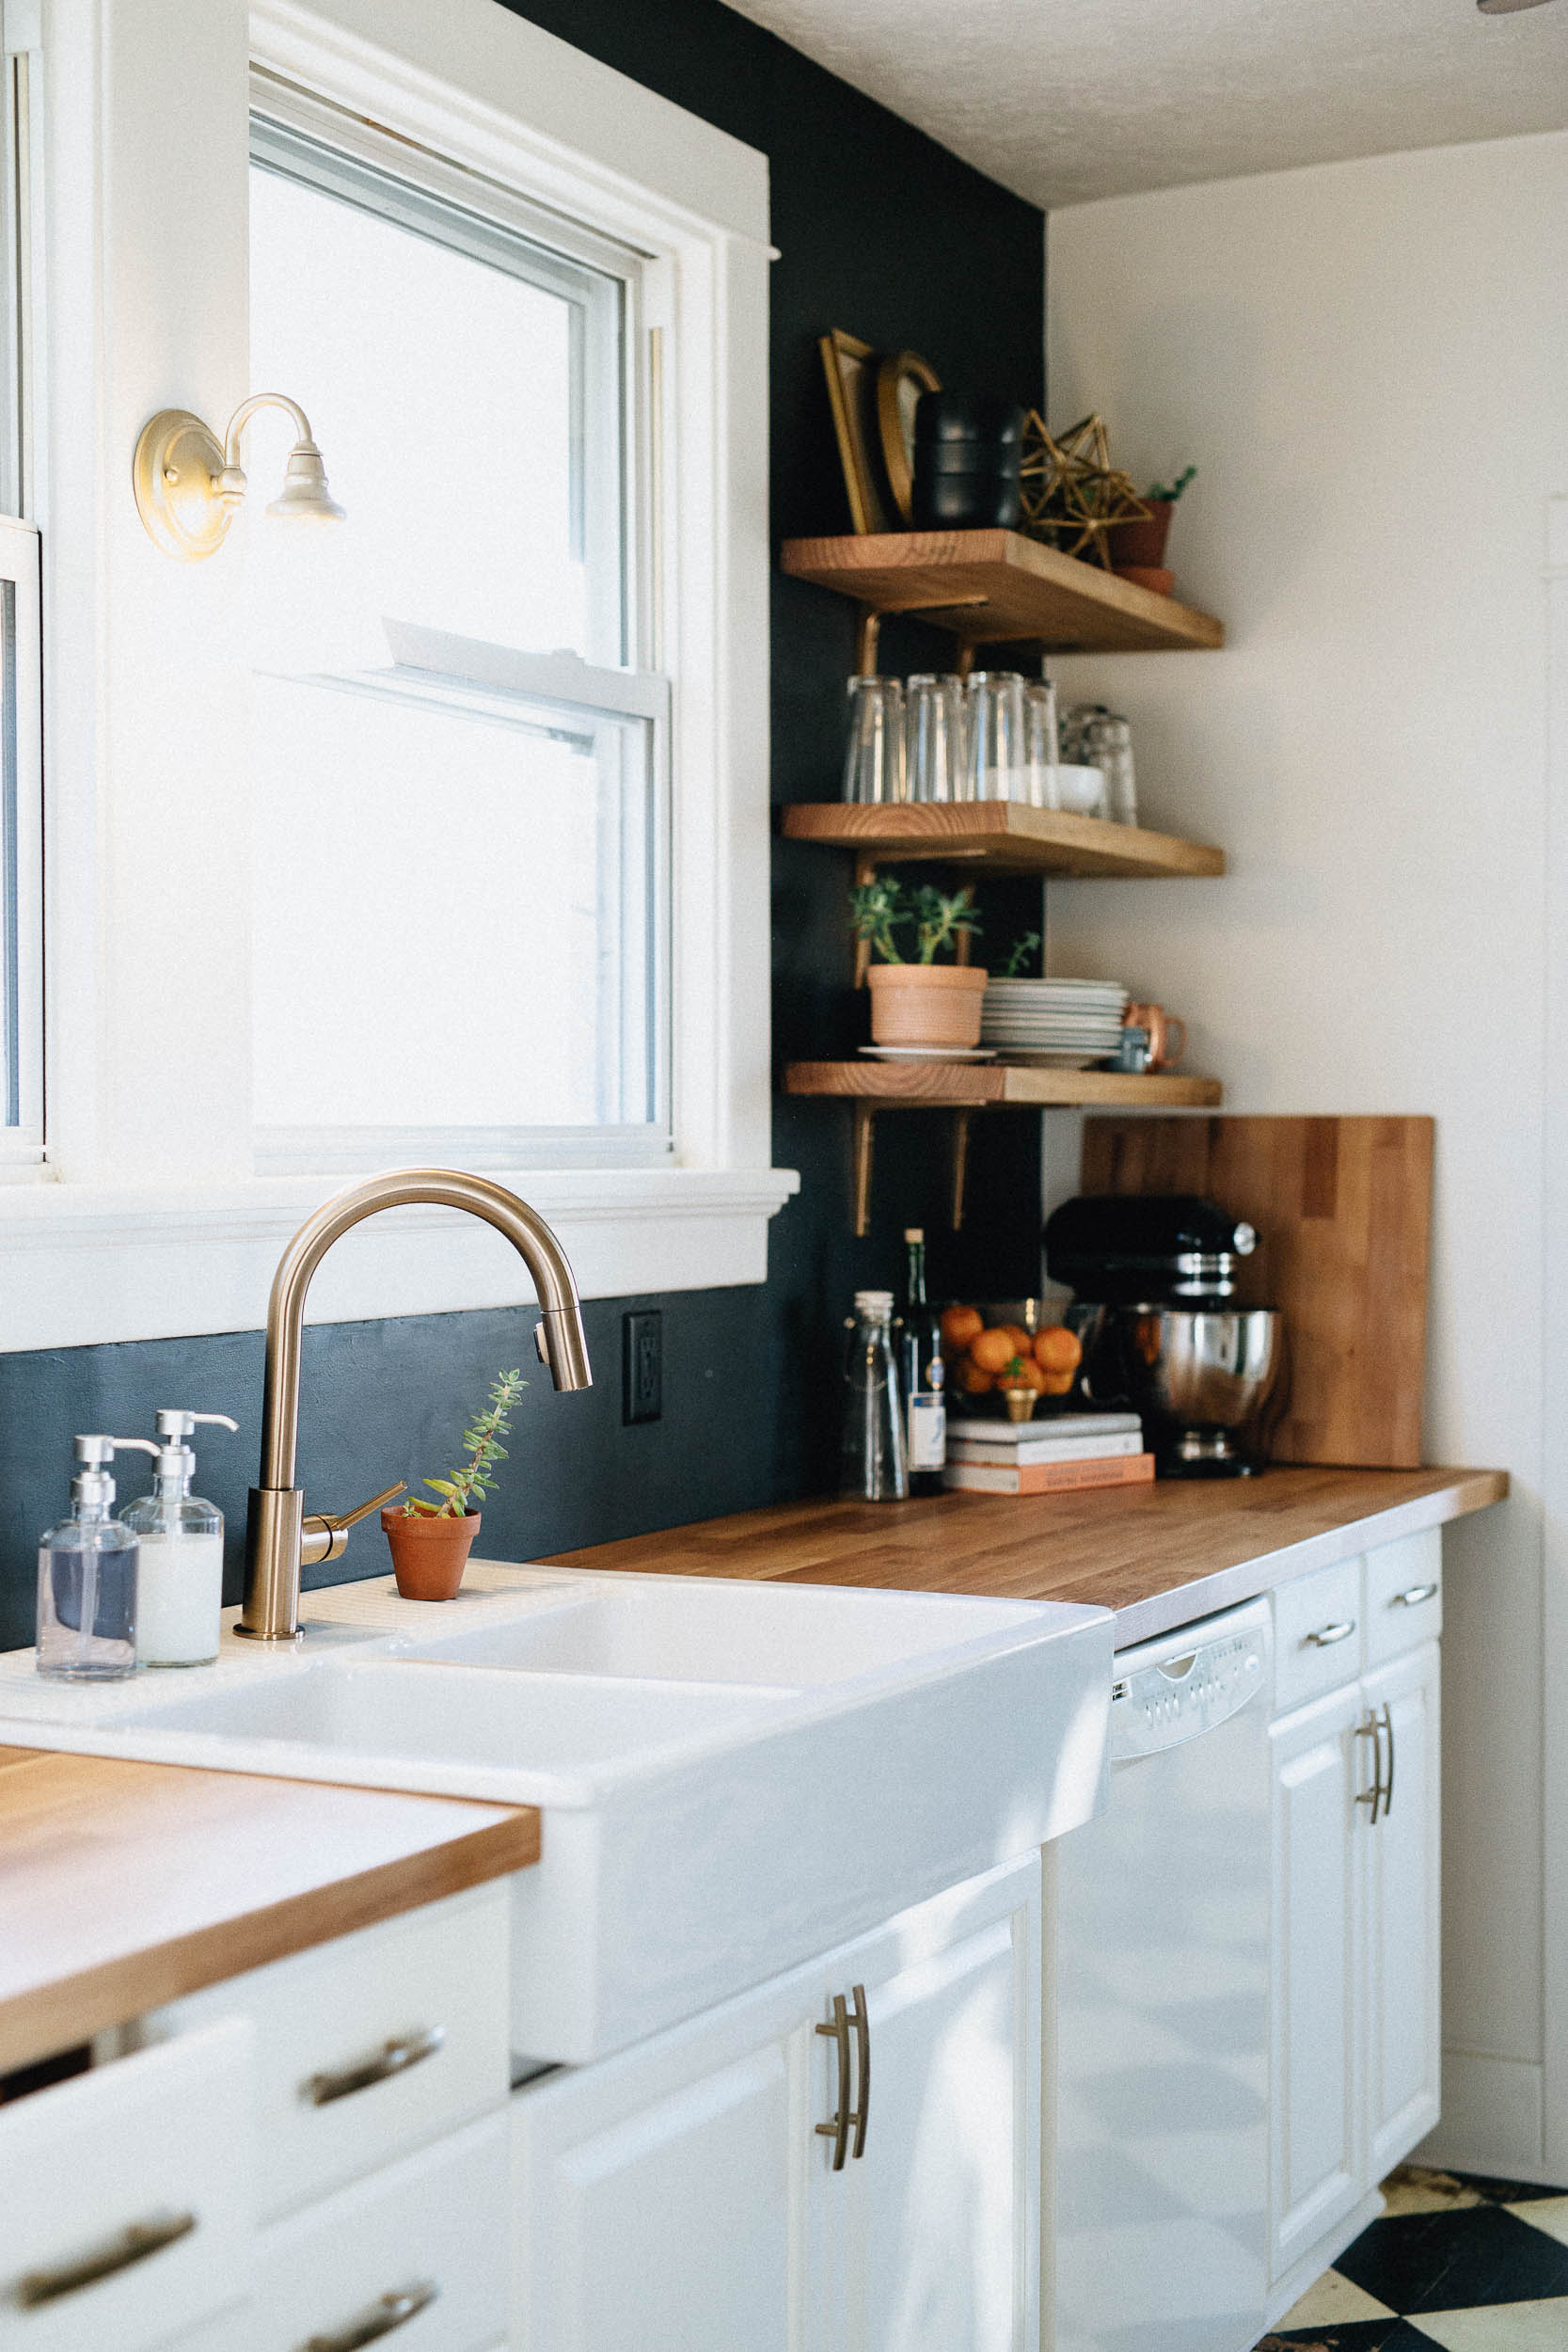
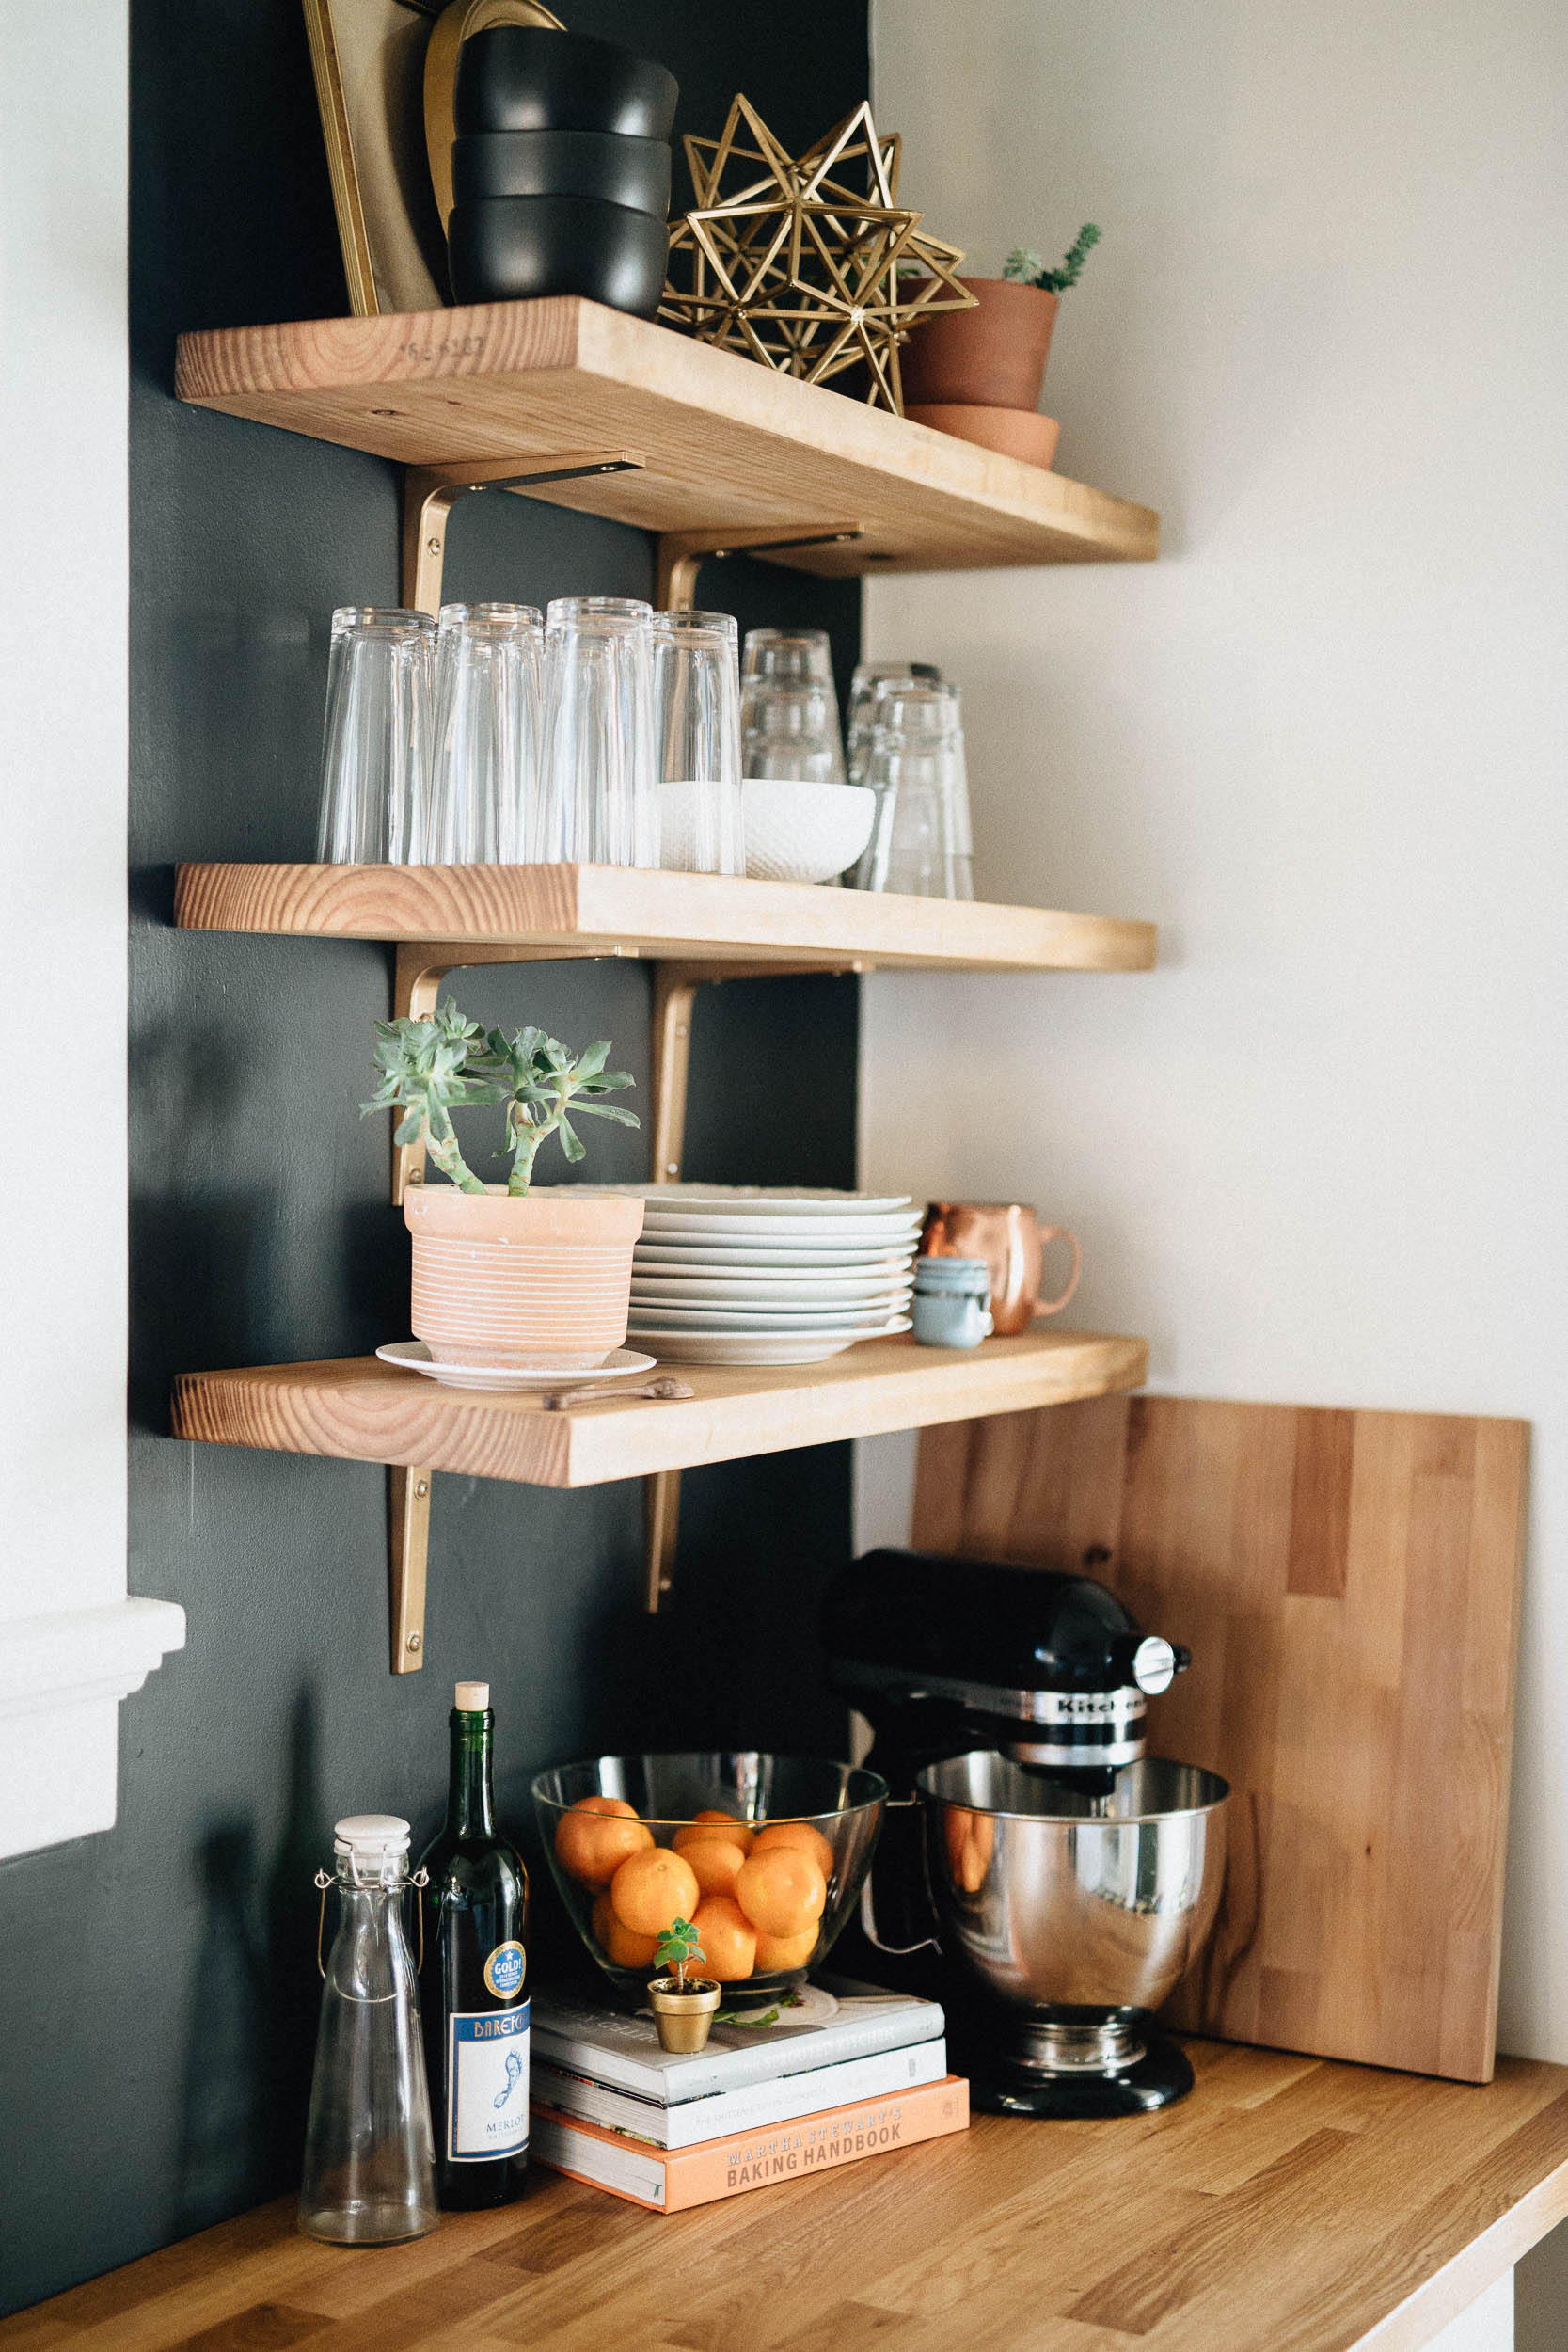
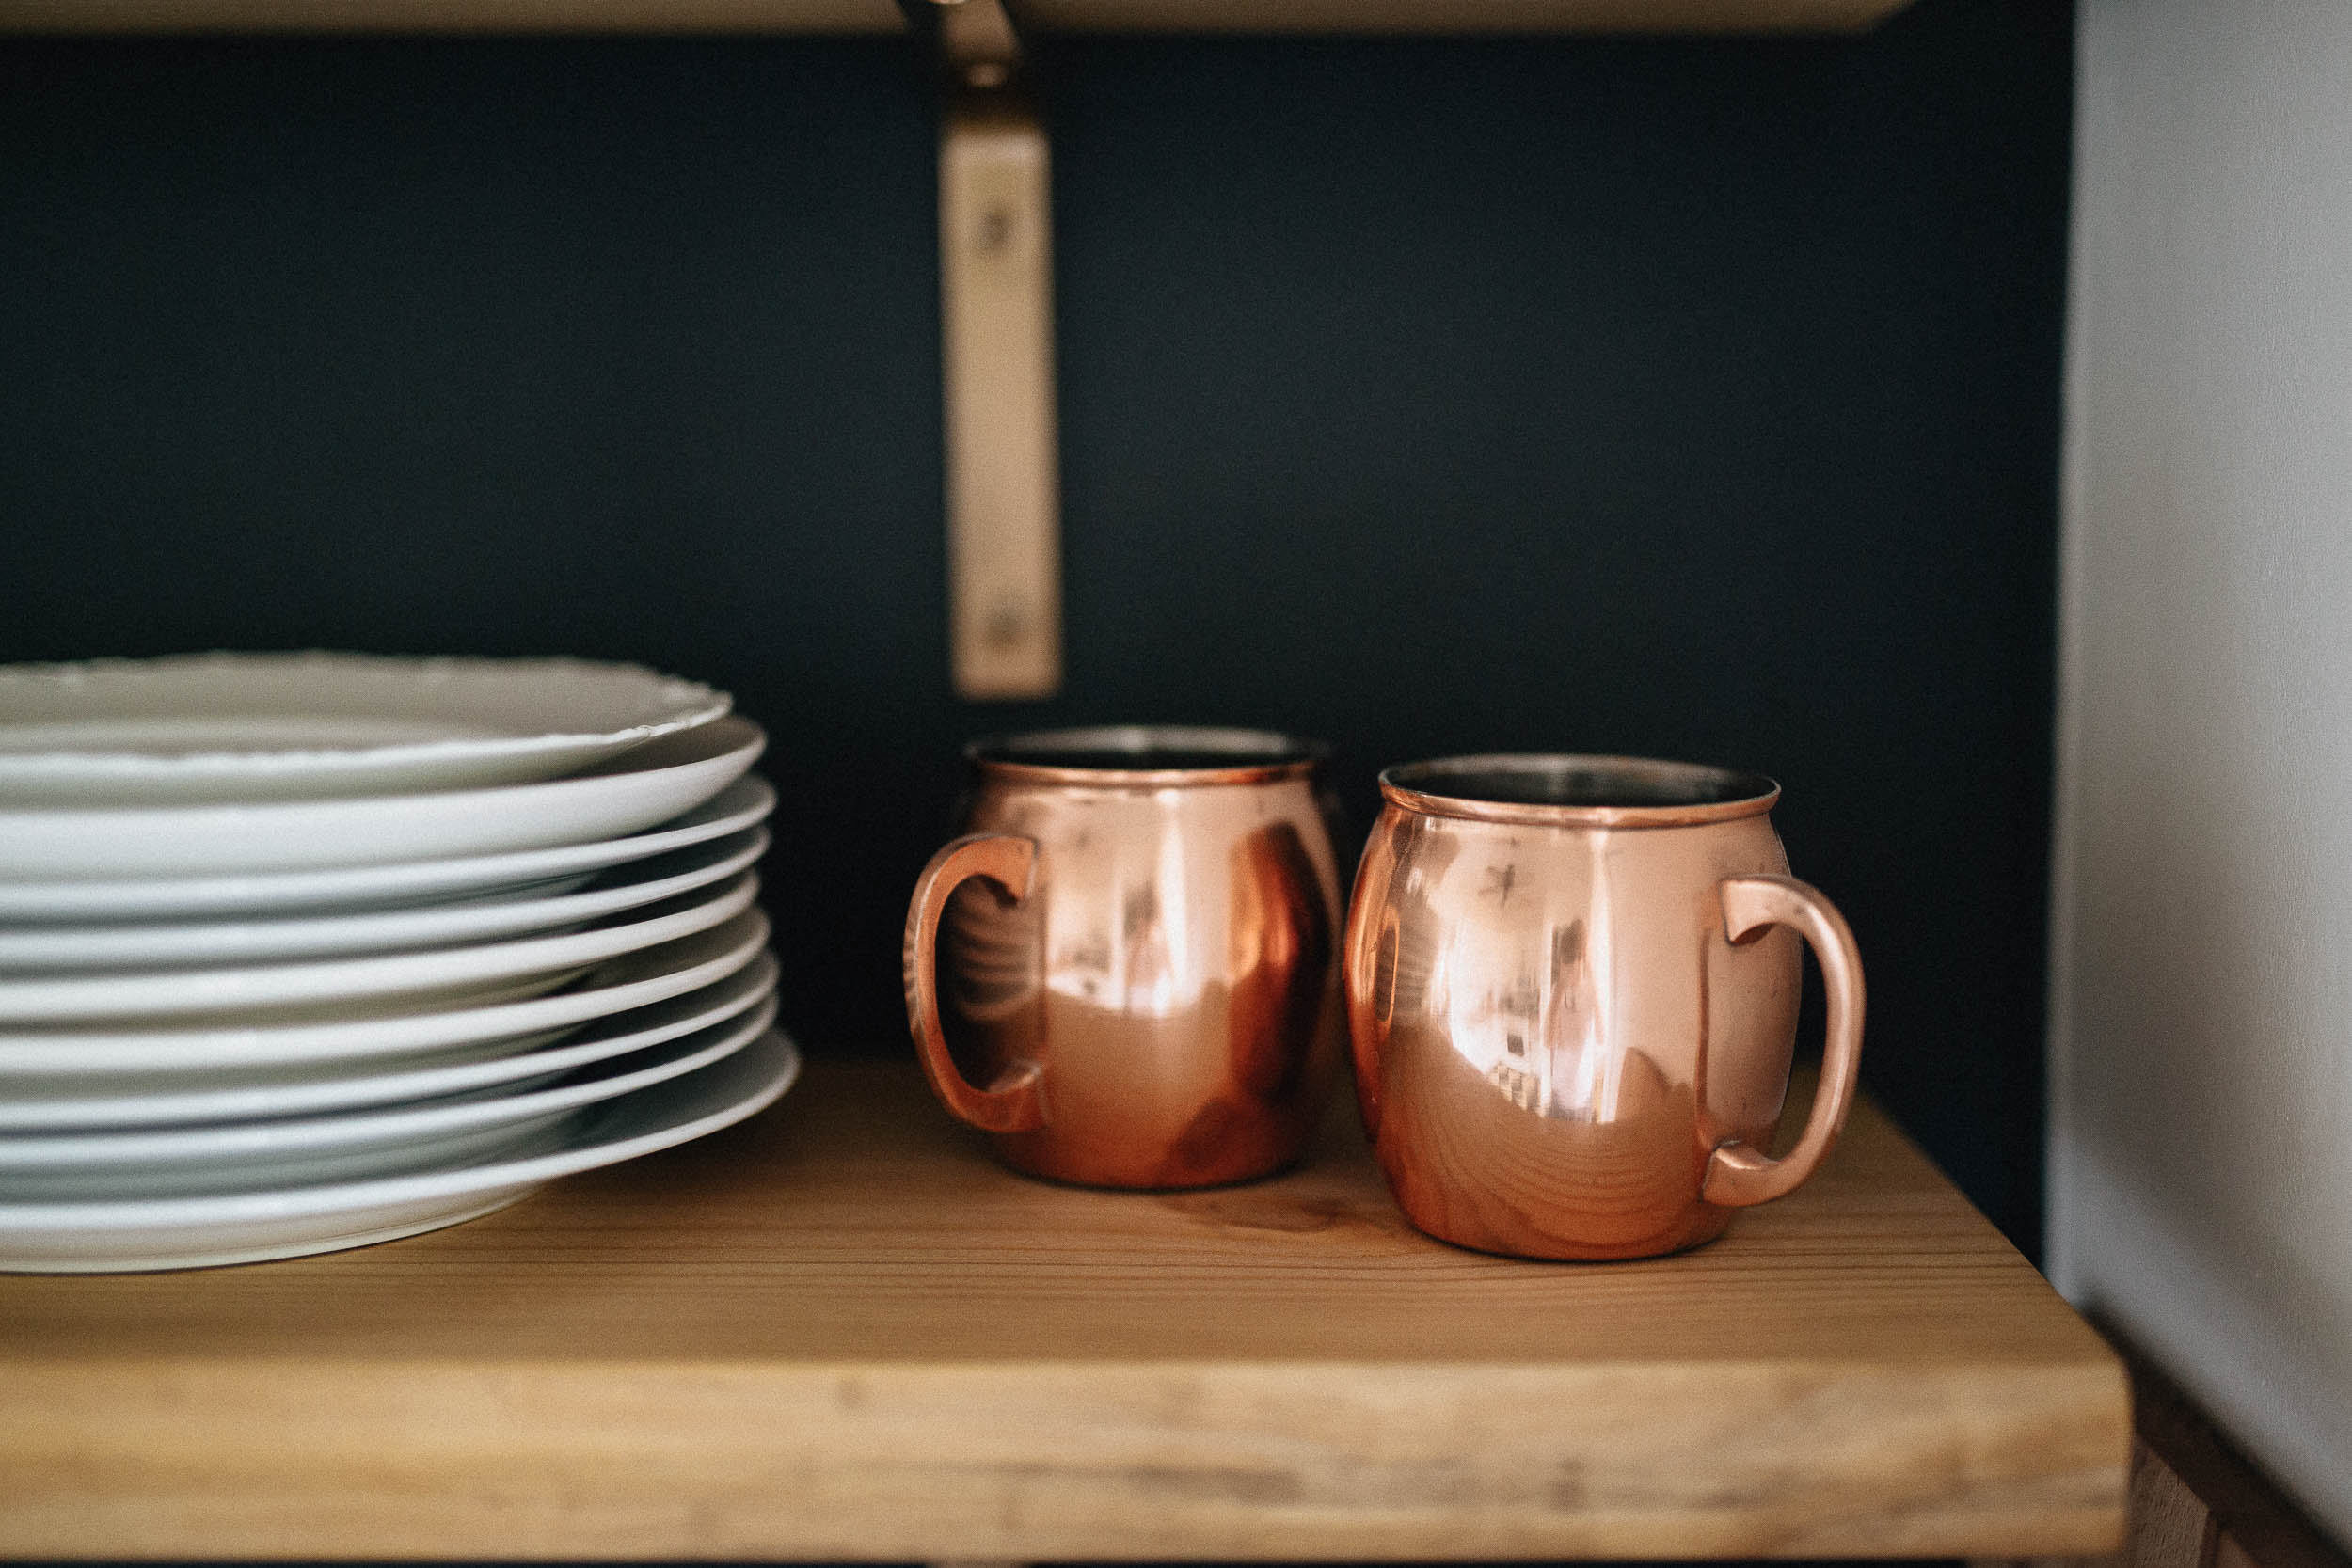
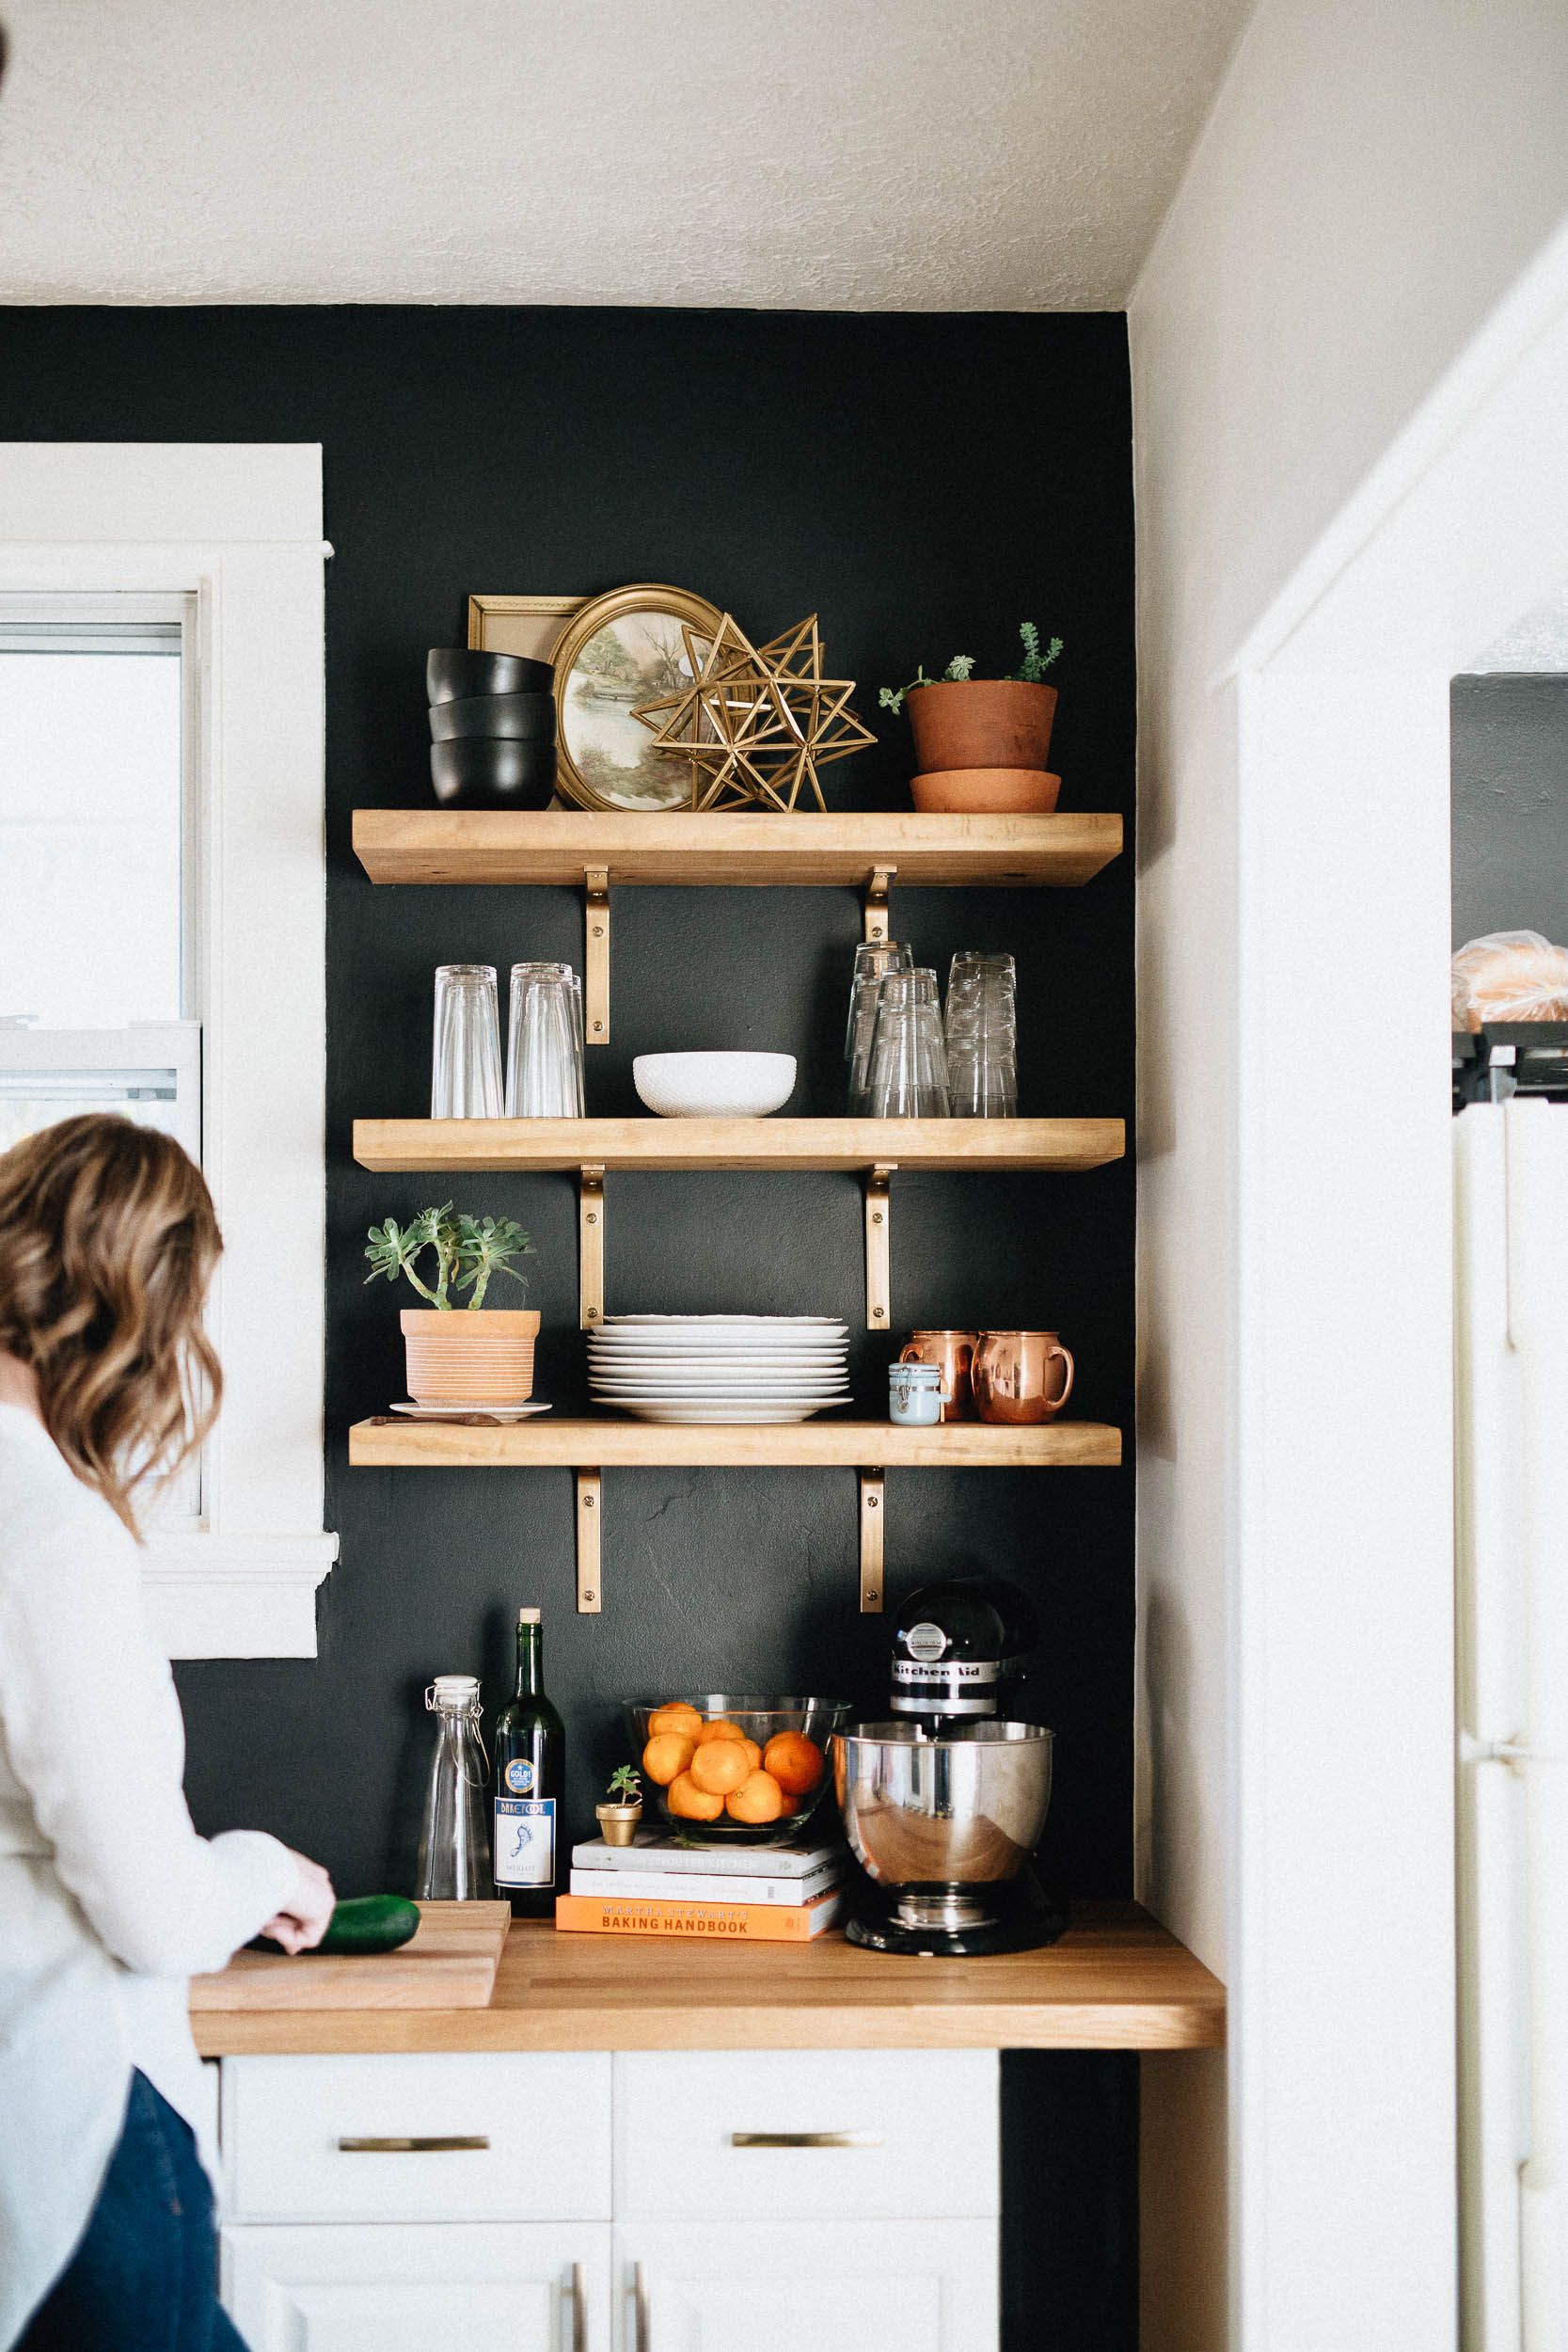
Moving the fridge also opened up a ton of wall space, which meant we could now install the open shelves that we wanted! This required some careful consideration of scale and materials as well, to keep the design cohesive and utilize the space without making things feel too cluttered. Cameron built the shelves using basic 2x12 wood from Lowes and some shelf brackets that we found in the AS-IS section of IKEA. We spray painted the brackets gold, and the totally cost of materials for the shelves was just $22 including the paint!

We mentioned at the beginning that this was an opportunity to be creative, both with our design and with our wallet. Here's the final breakdown:
IKEA Domsjö Sink - $299 (price has gone up since we bought it)
IKEA Karlby Counters - $99 x 3 = $297
Delta Trinsic Faucet - $365
Gold Cabinet Pulls - $3.77 x 27 = $102
Shelf Wood (2"x10"x10') - $10
Spray Paint - $14
Wall Paint - $34 x 3 gallons + $10 rebate/gal = $72
Floor trim - $4 x 2 = $8
Calk - $4 x 2 = $8
New Outlets, Switches + Covers - $70
Plumbing Drain Pipes + PVC Cement - $15
Total cost: $1260
Not bad for a total kitchen makeover. I'd say we earned more than that in home equity.